To begin a sale, you can select a Clerk from the drop down menu or use the default clerk selected.
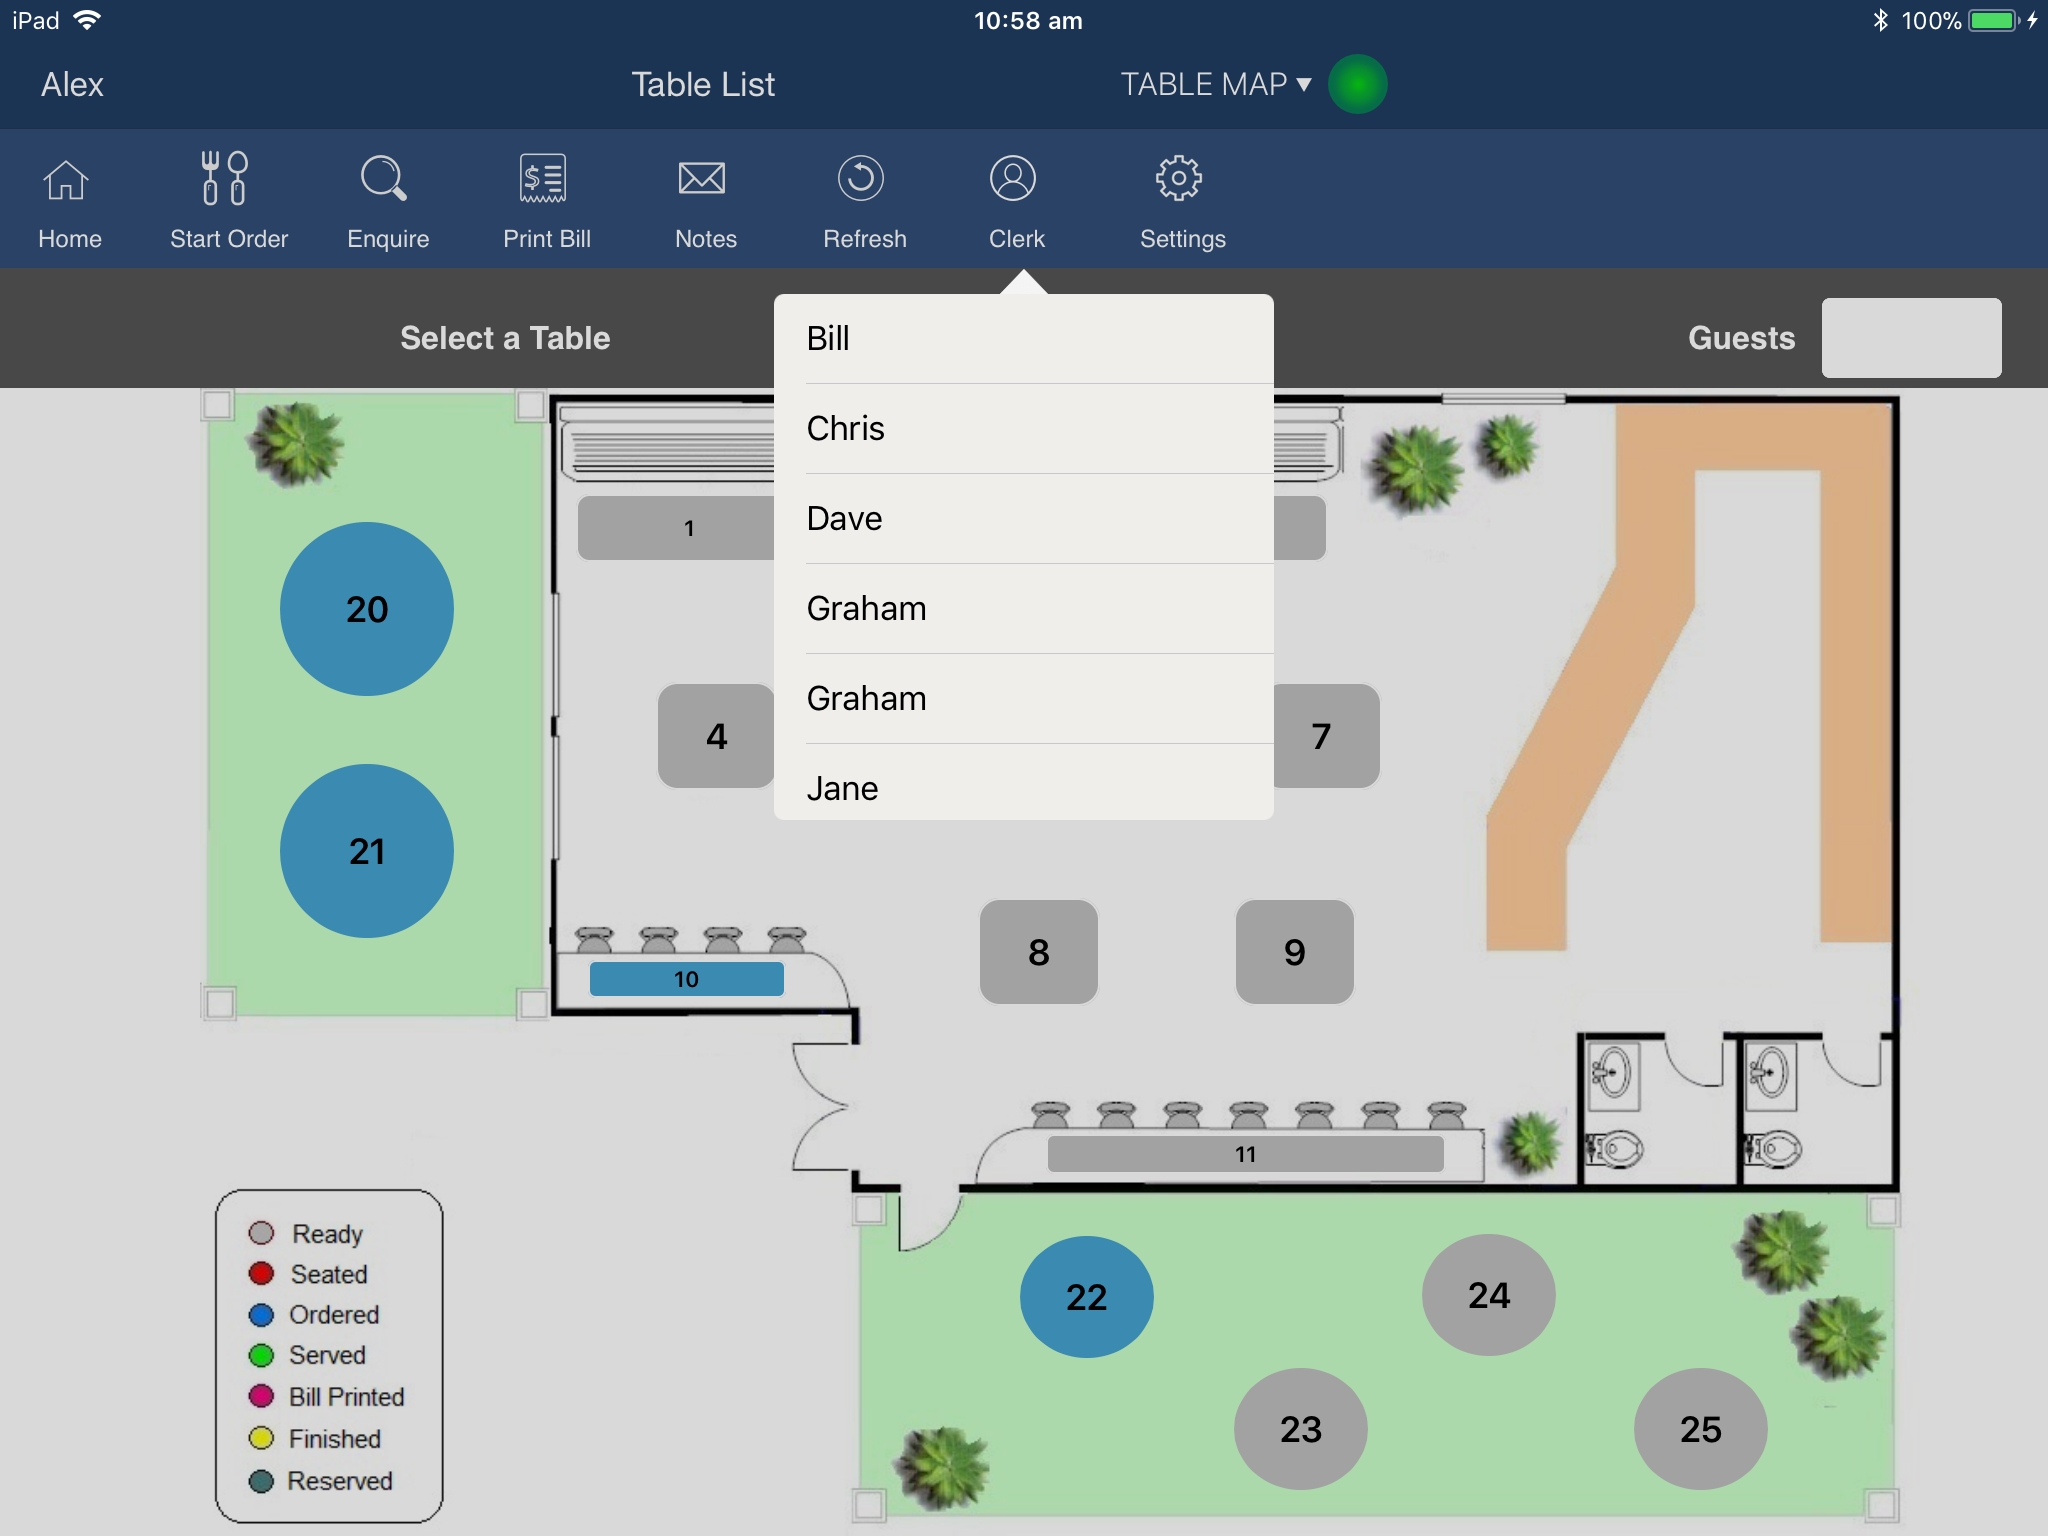
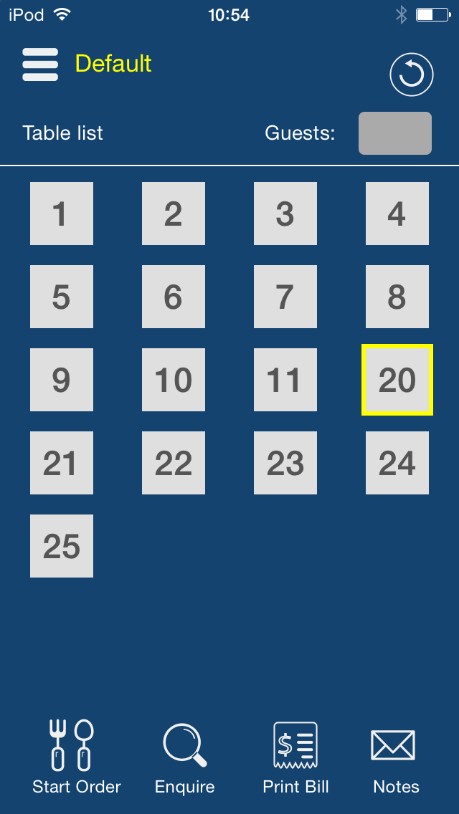
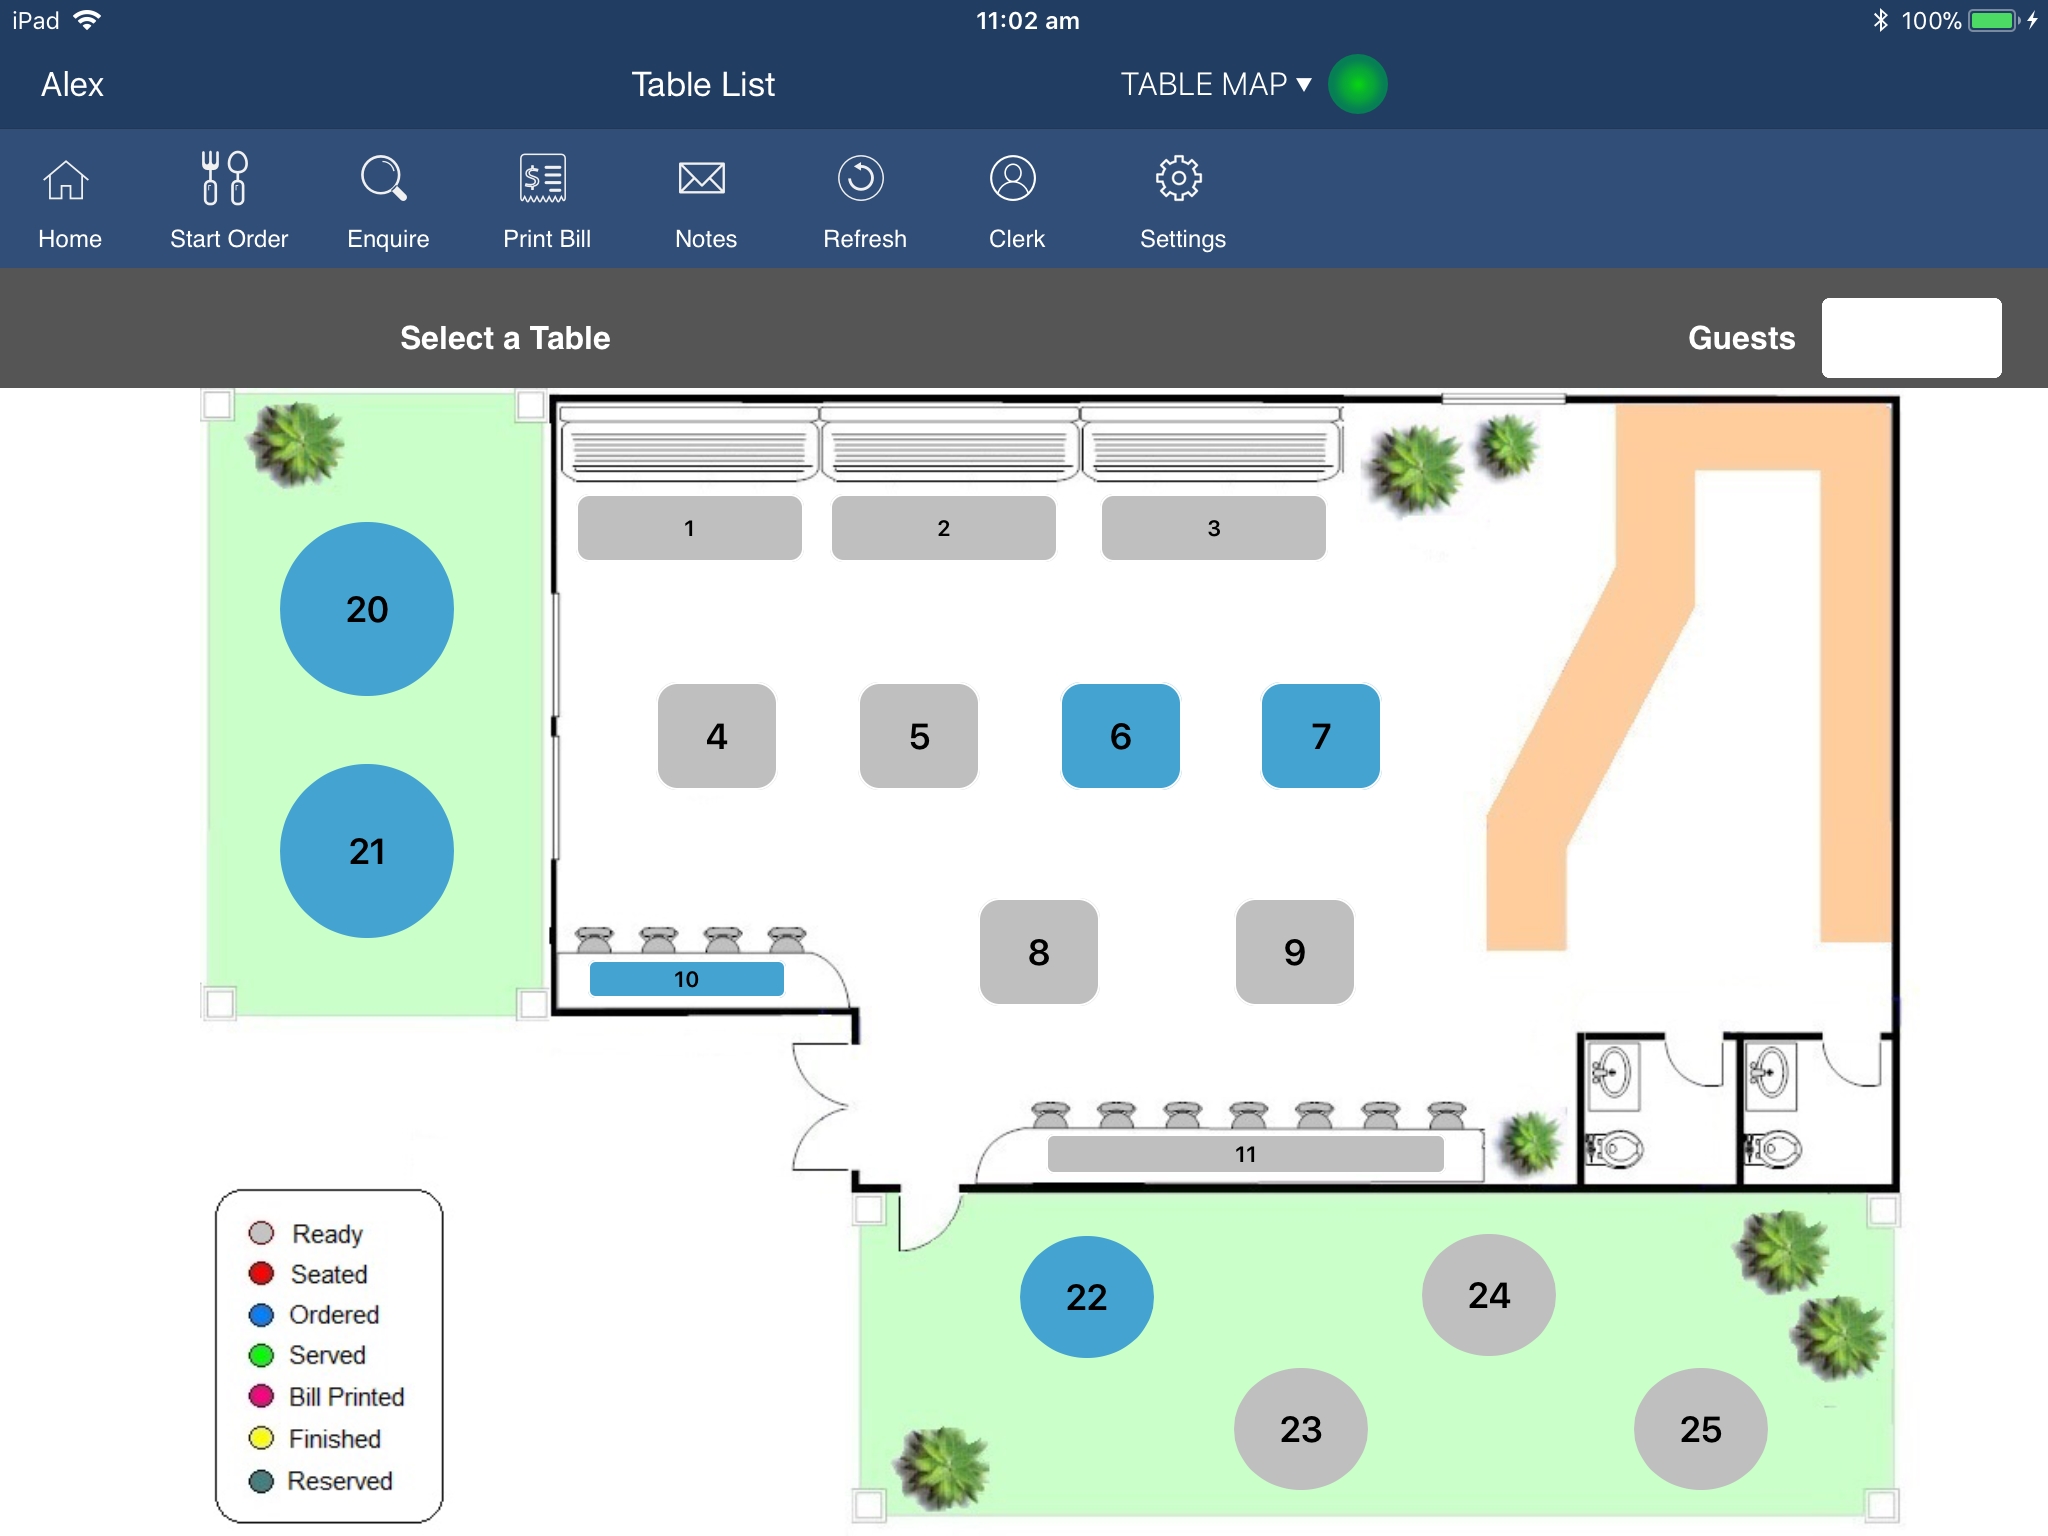
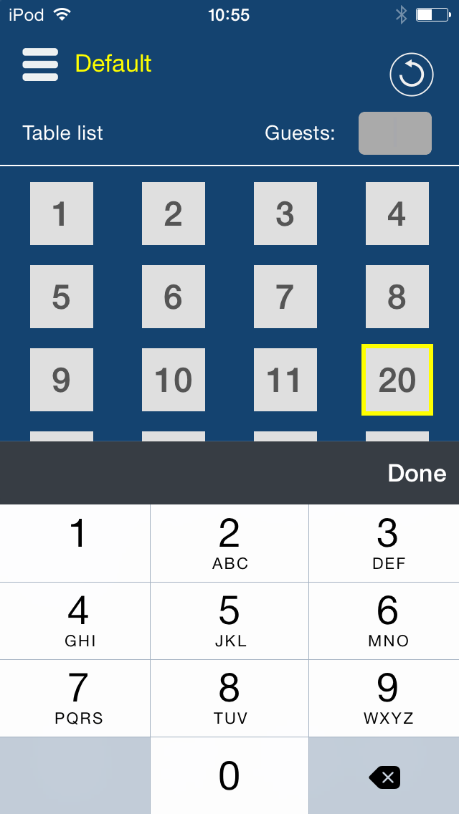
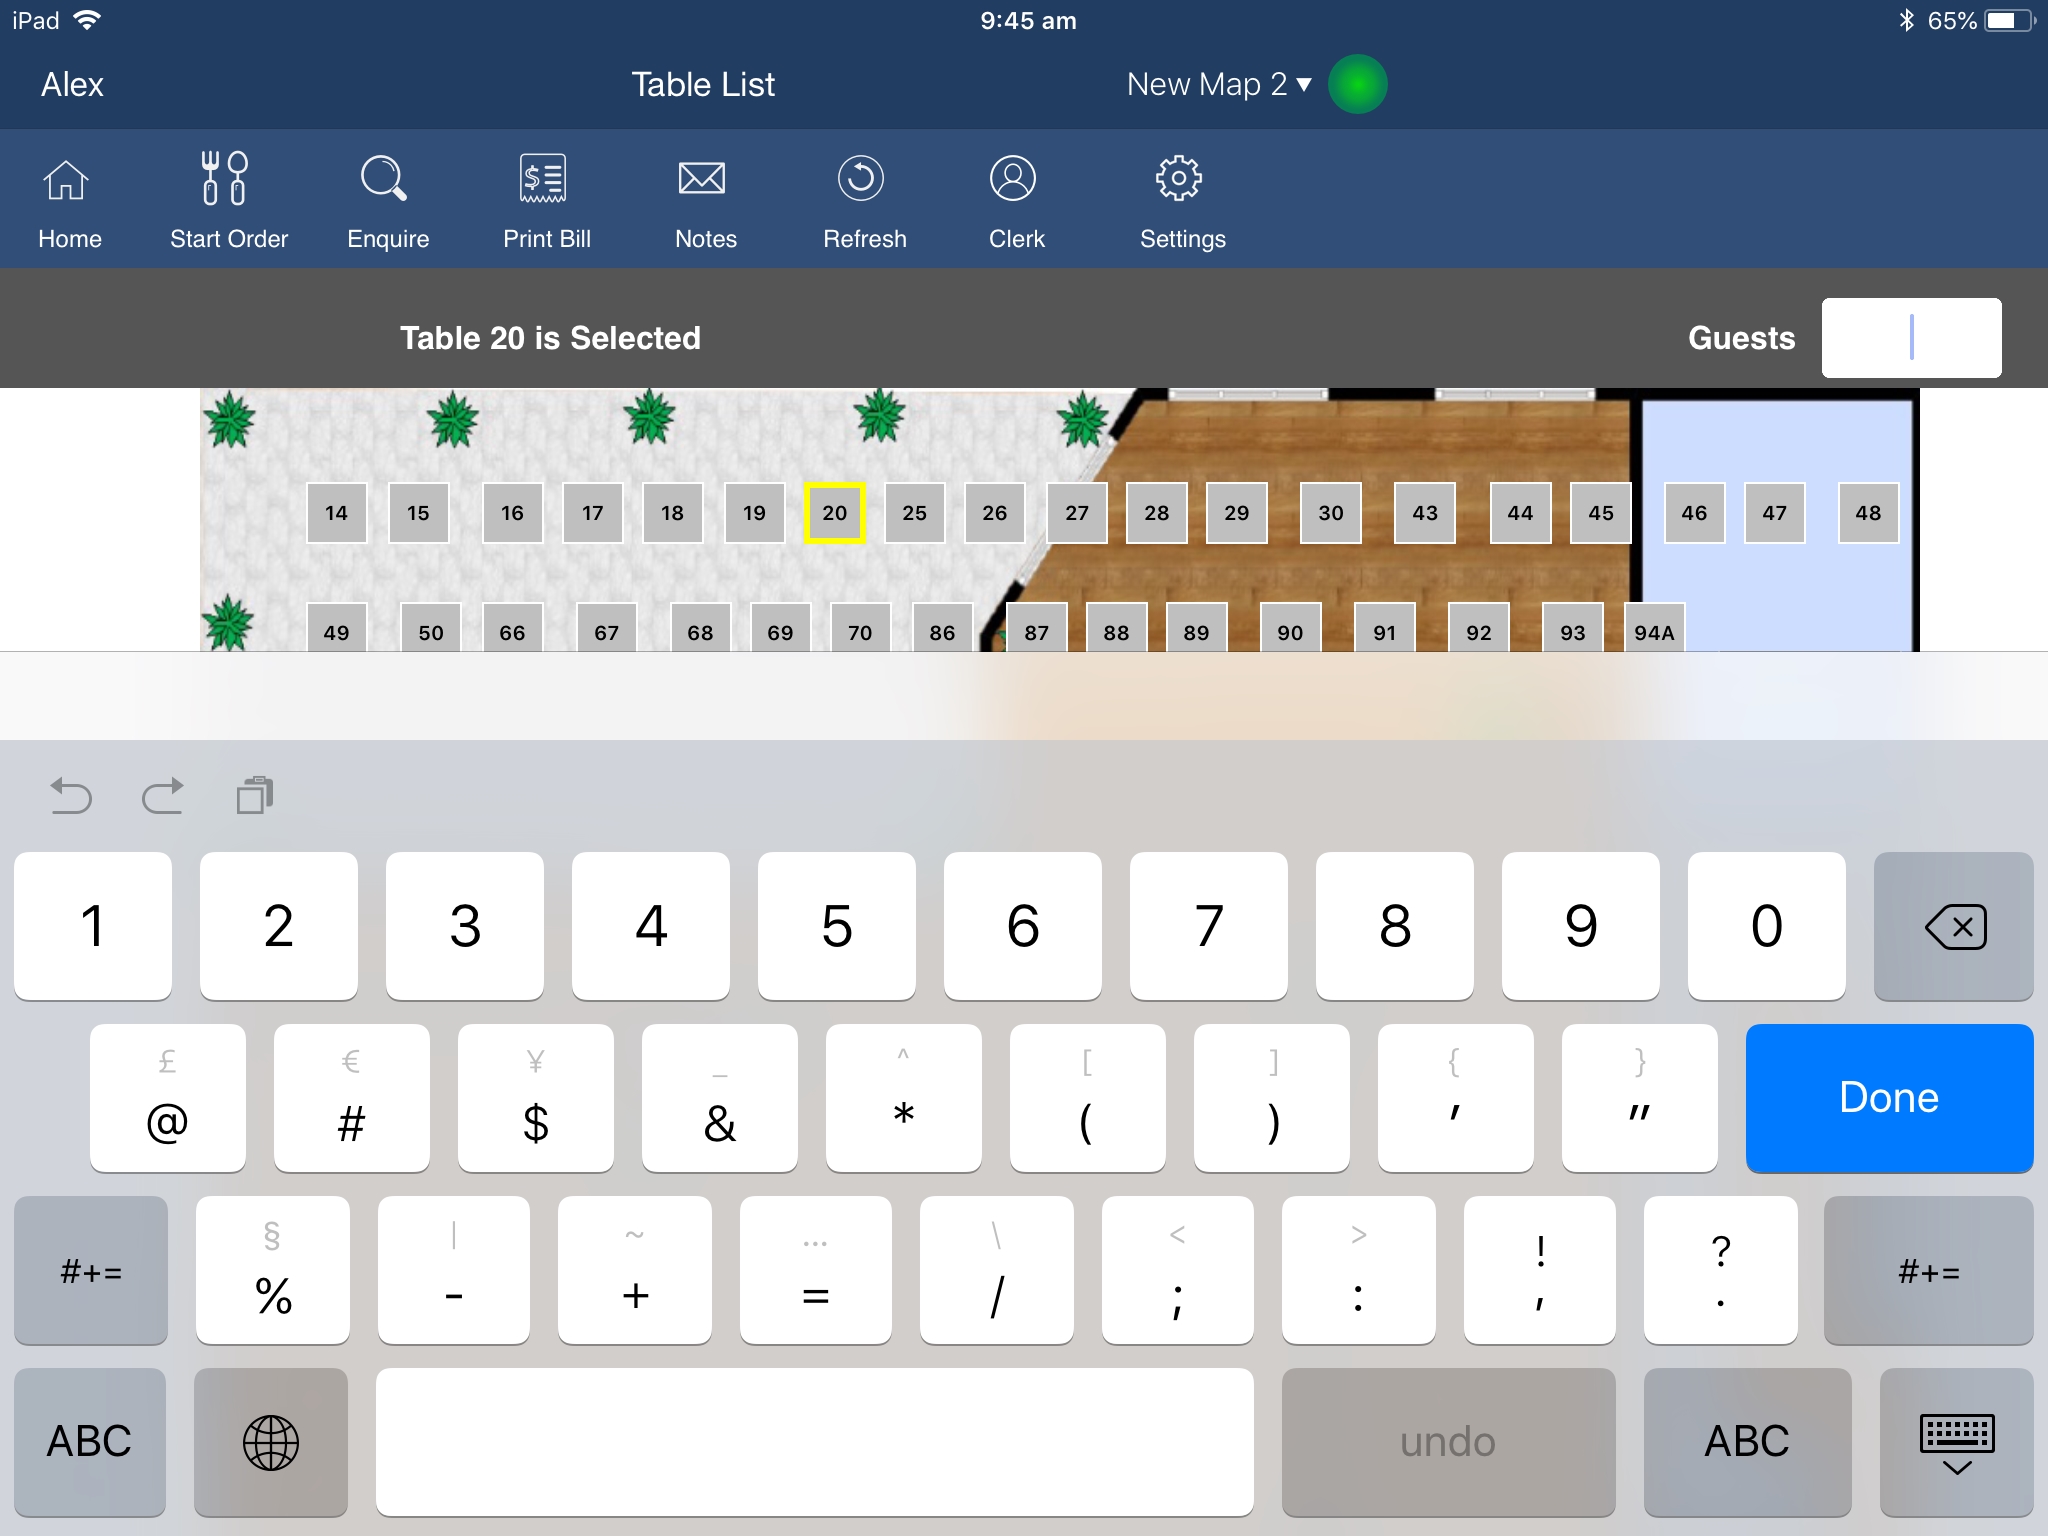
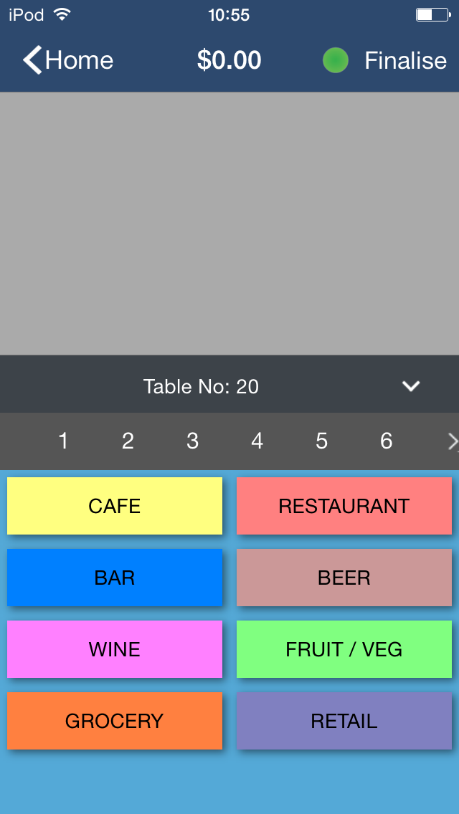
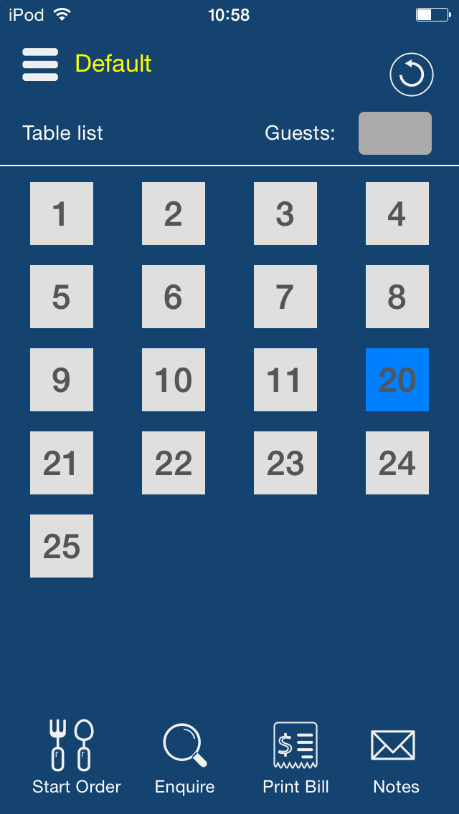
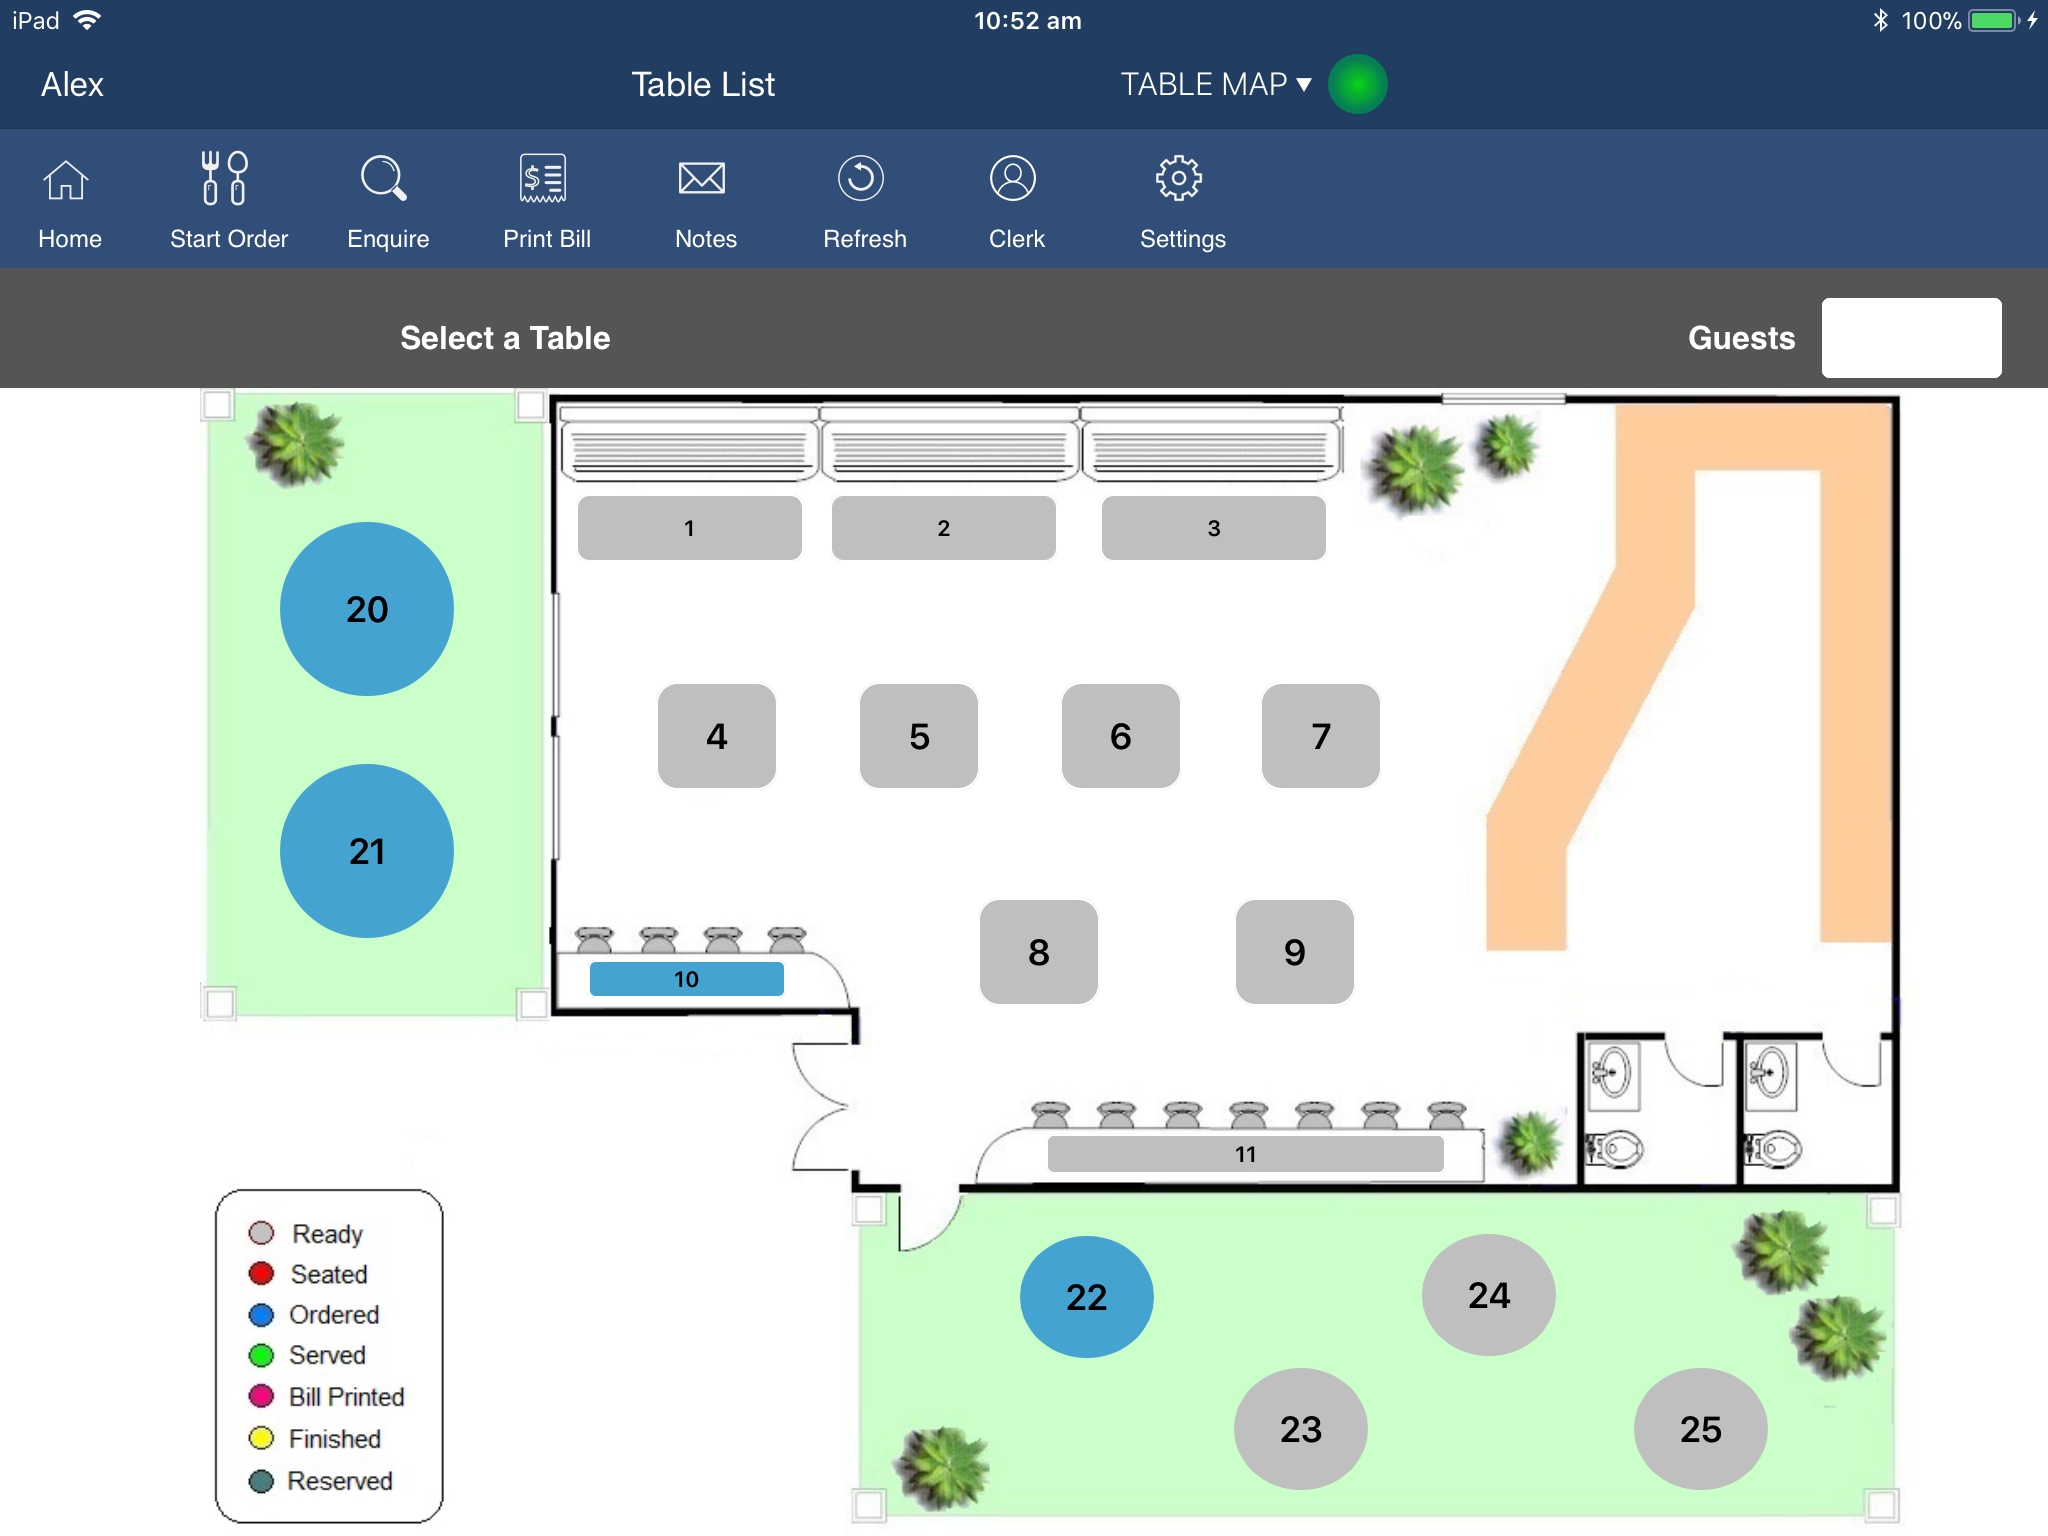
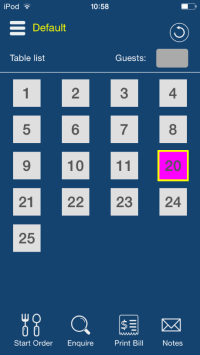
Select a table from the grid layout or table map.
If Prompt for Covers are enabled in the Yes/No options in Idealpos, the Guests field will be hidden regardless of the Hide Guests field setting in the Handheld app.
Select a table and press Start Order.
A Covers prompt will be displayed.
Either accept the default number of guests entered, or enter the number of Guests for the table into the Covers prompt using the numeric keypad.
Press OK to enter items or press Cancel to return to the Table List screen.


If Prompt for Covers are not enabled, the Guests field will be visible, provided that it hasn't been hidden in the Handheld app settings.
Enter the number of guests seated at the table if required and press OK.
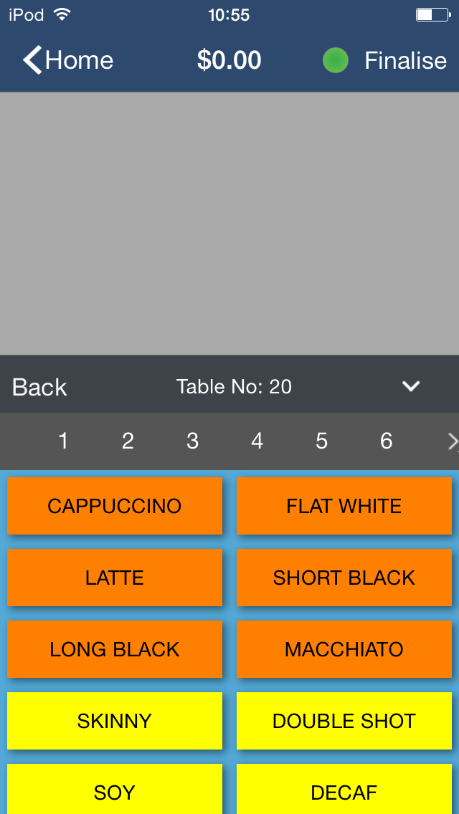
Press Start Order to enter items.
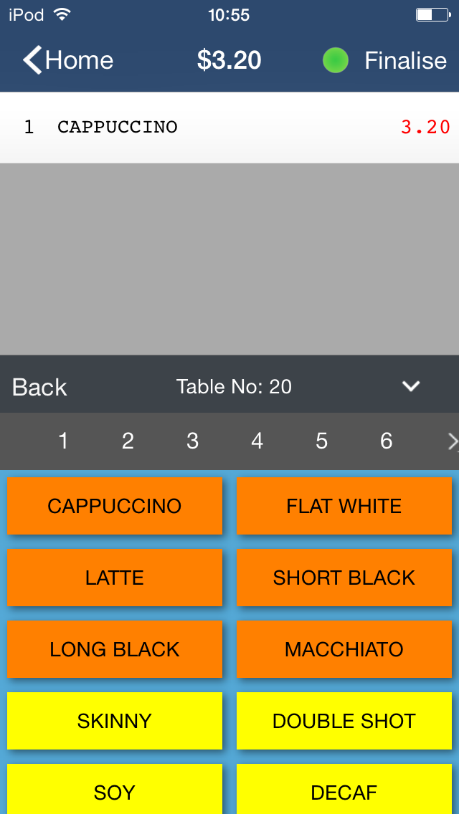
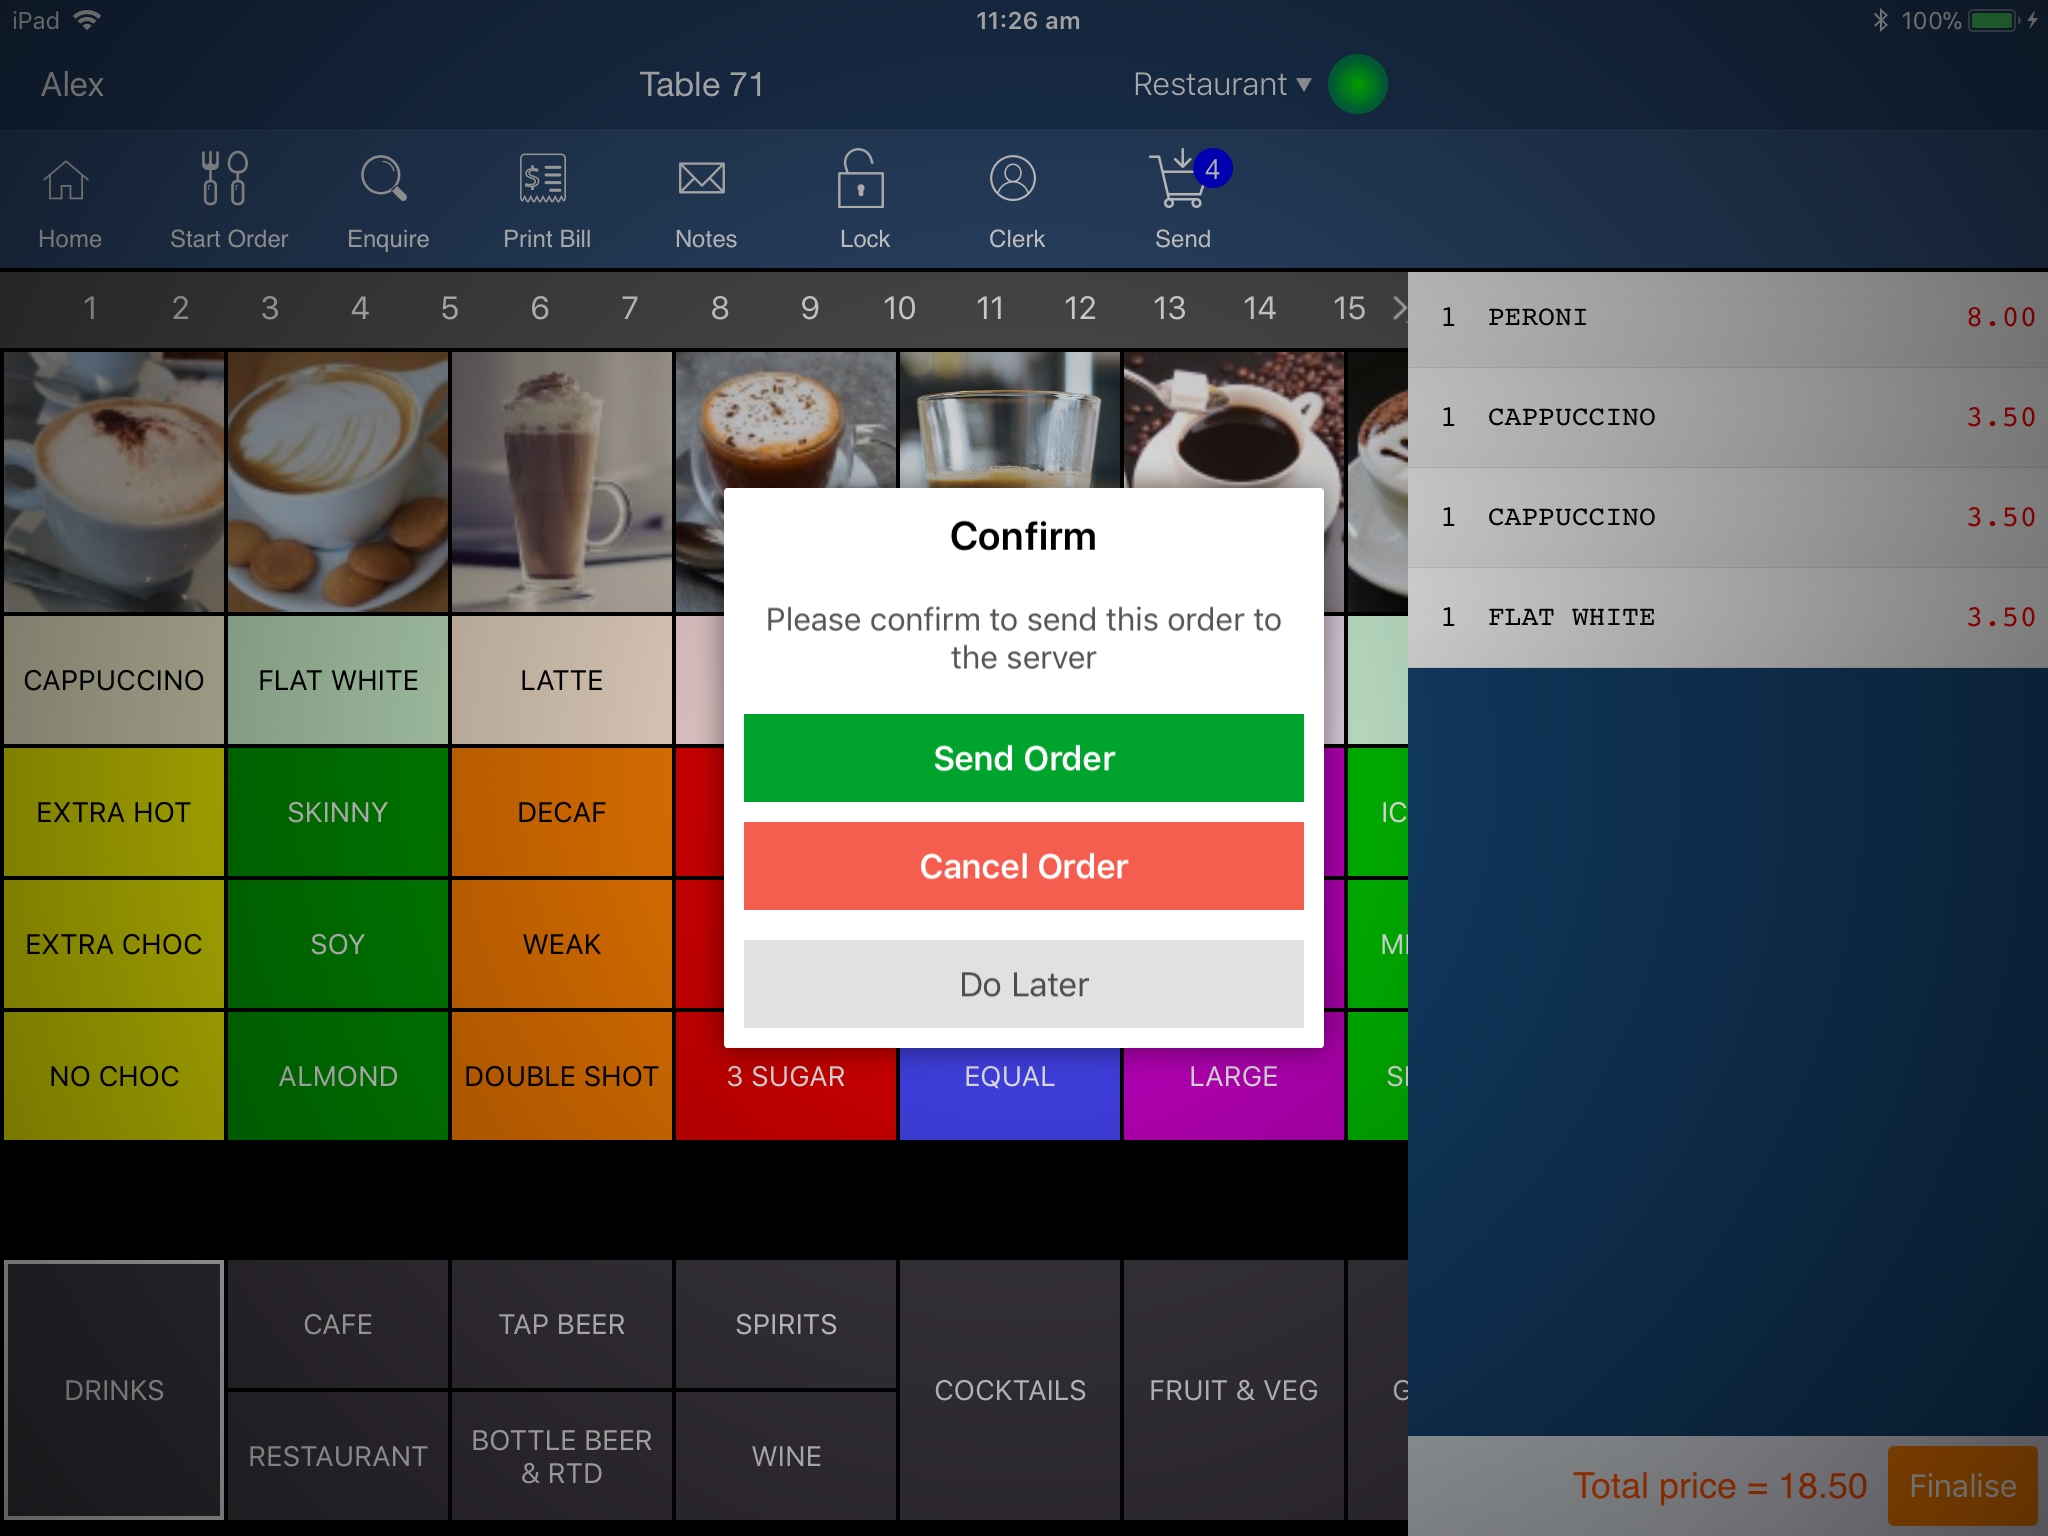
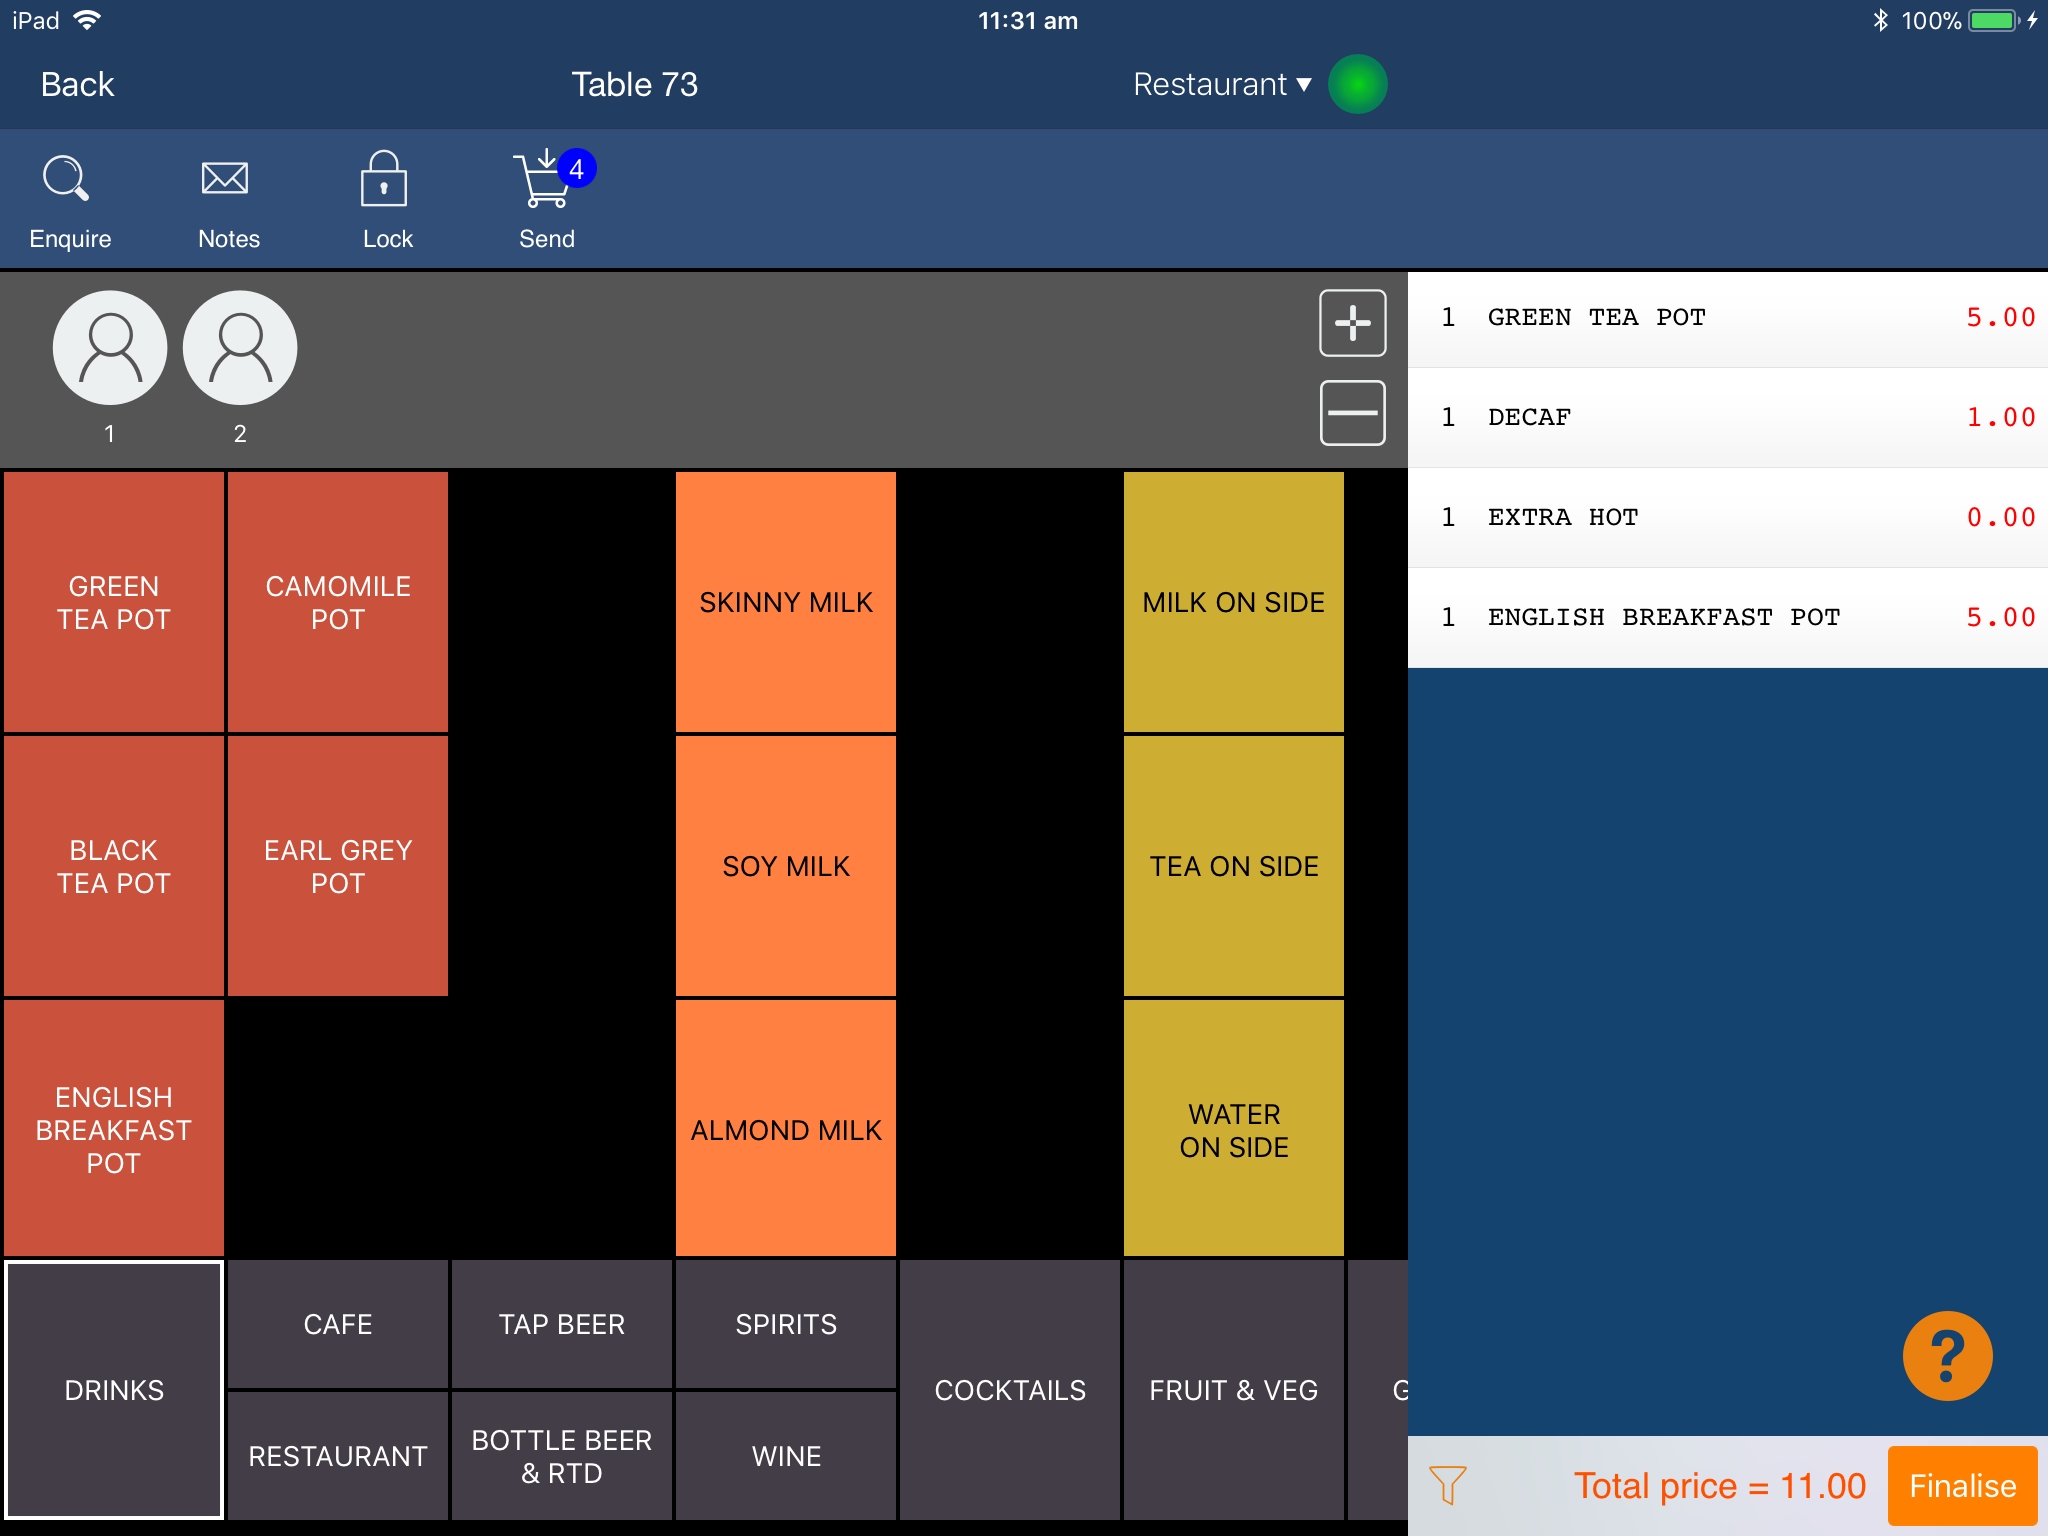
Navigate through the menus to select the items to add to the table.
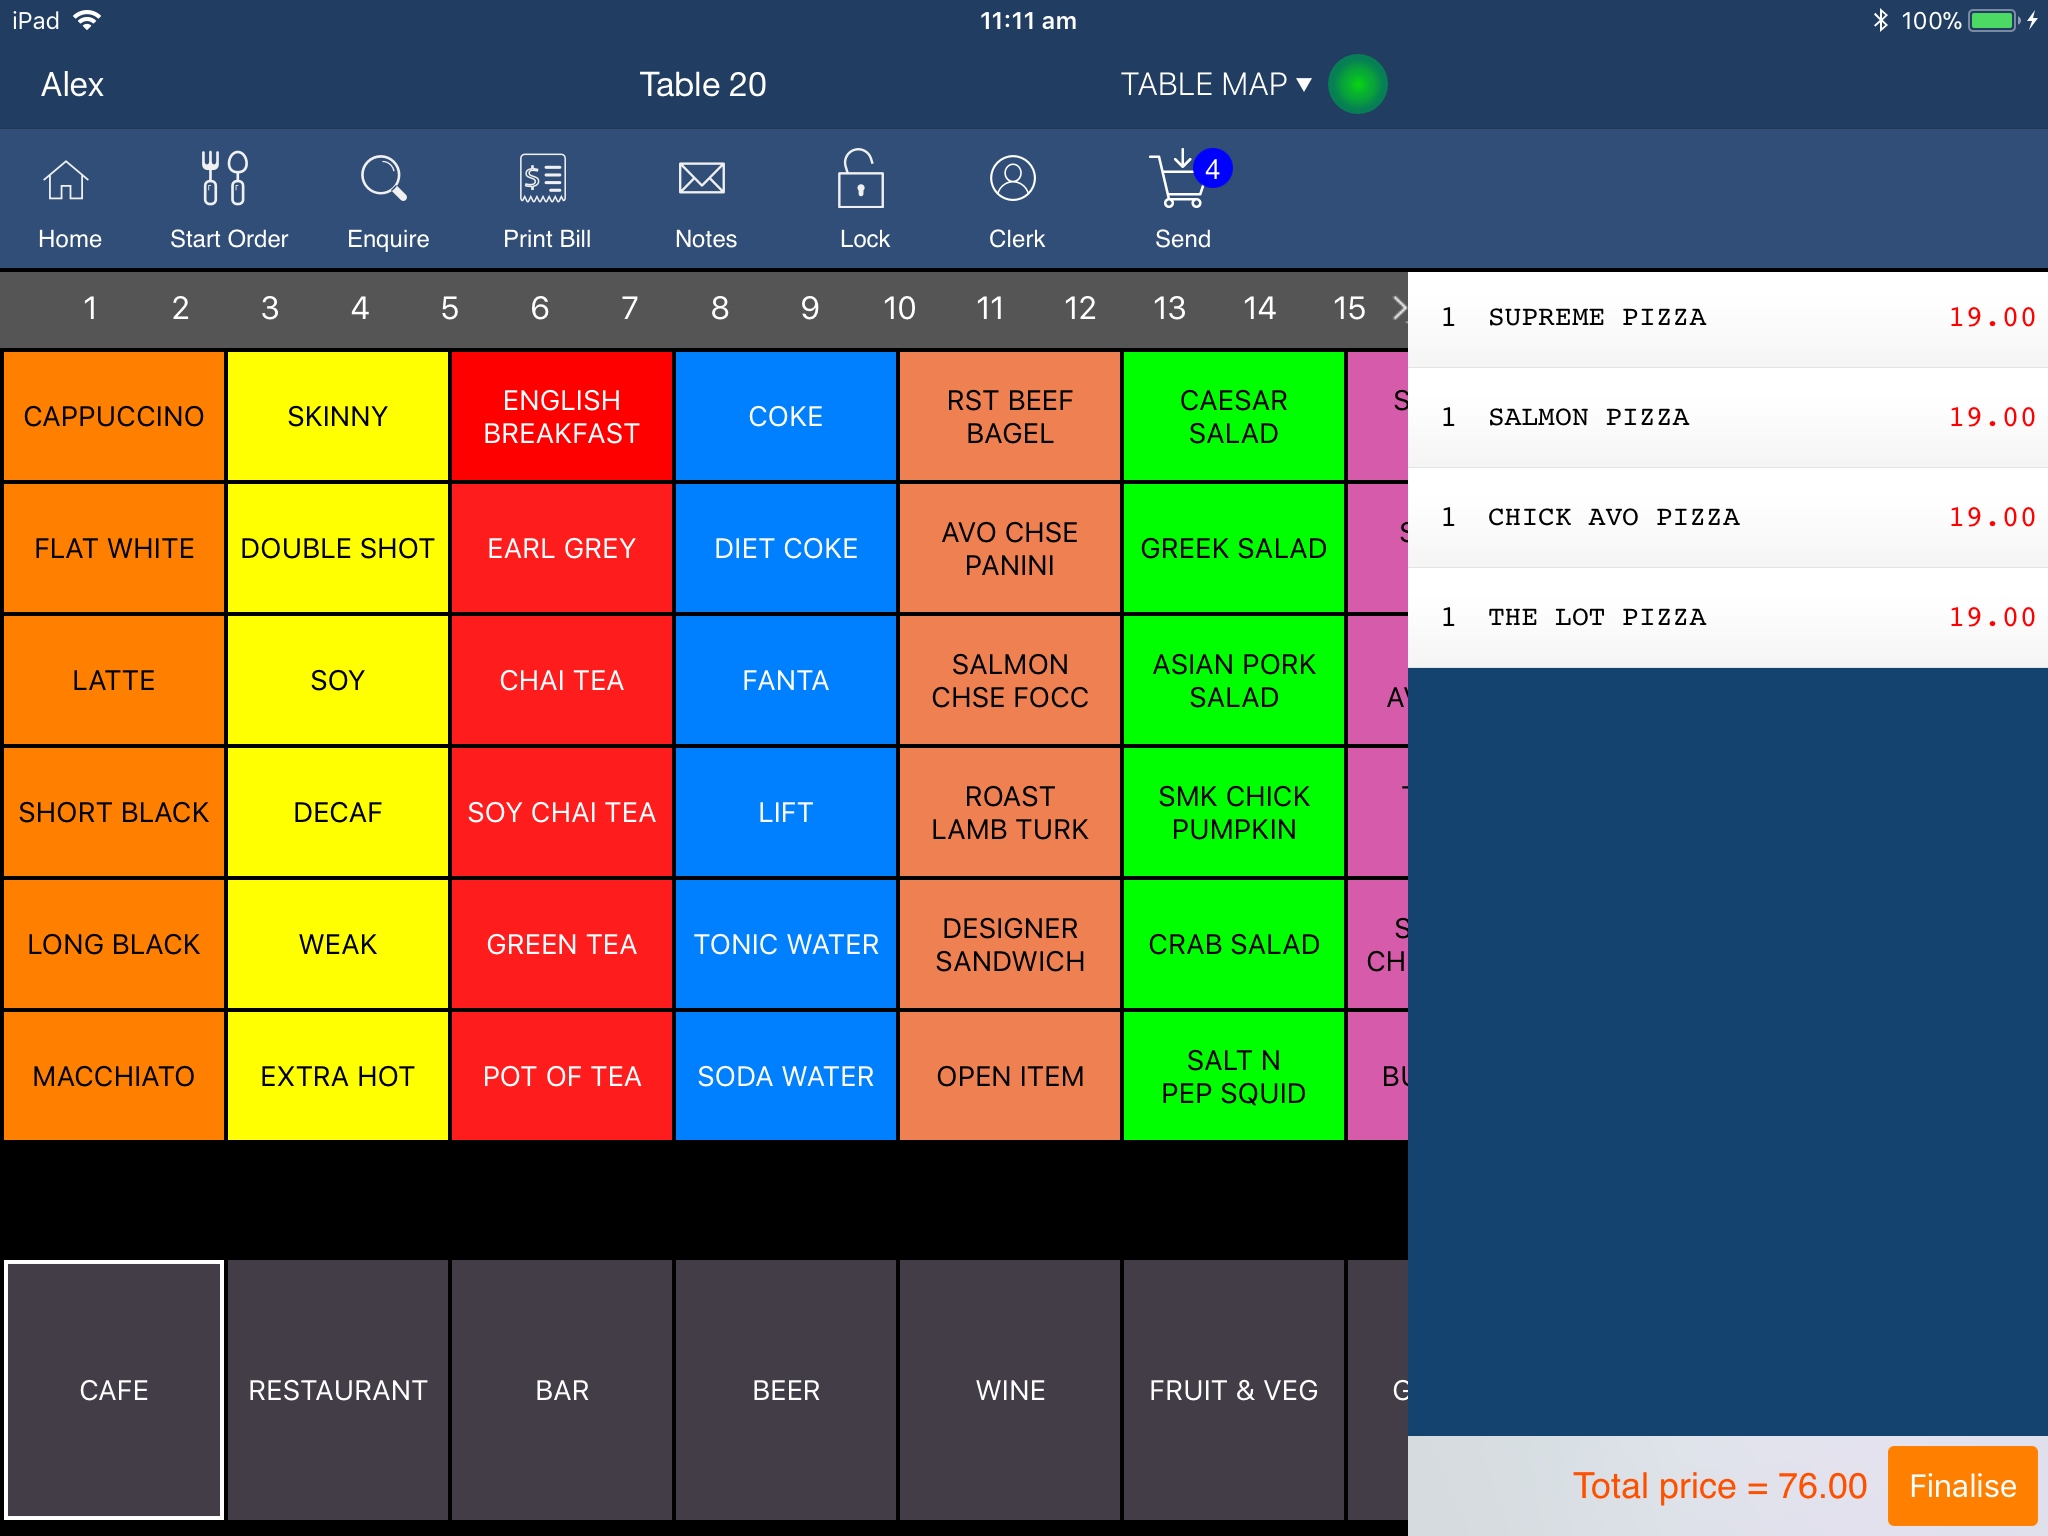
Swipe right on an item in the sale window to change the quantity.
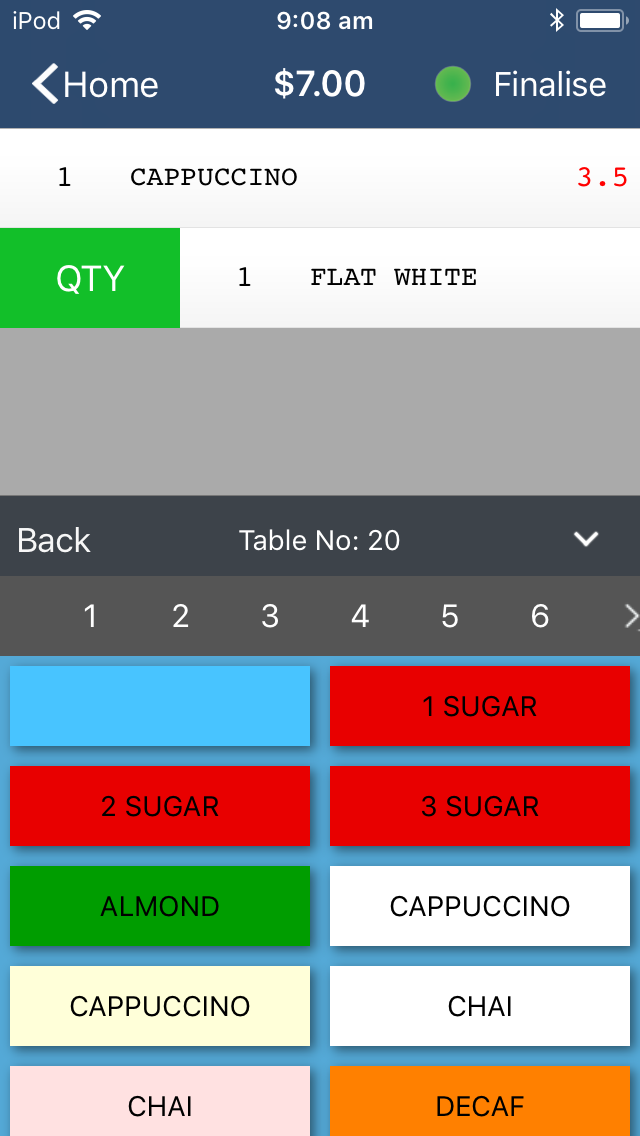
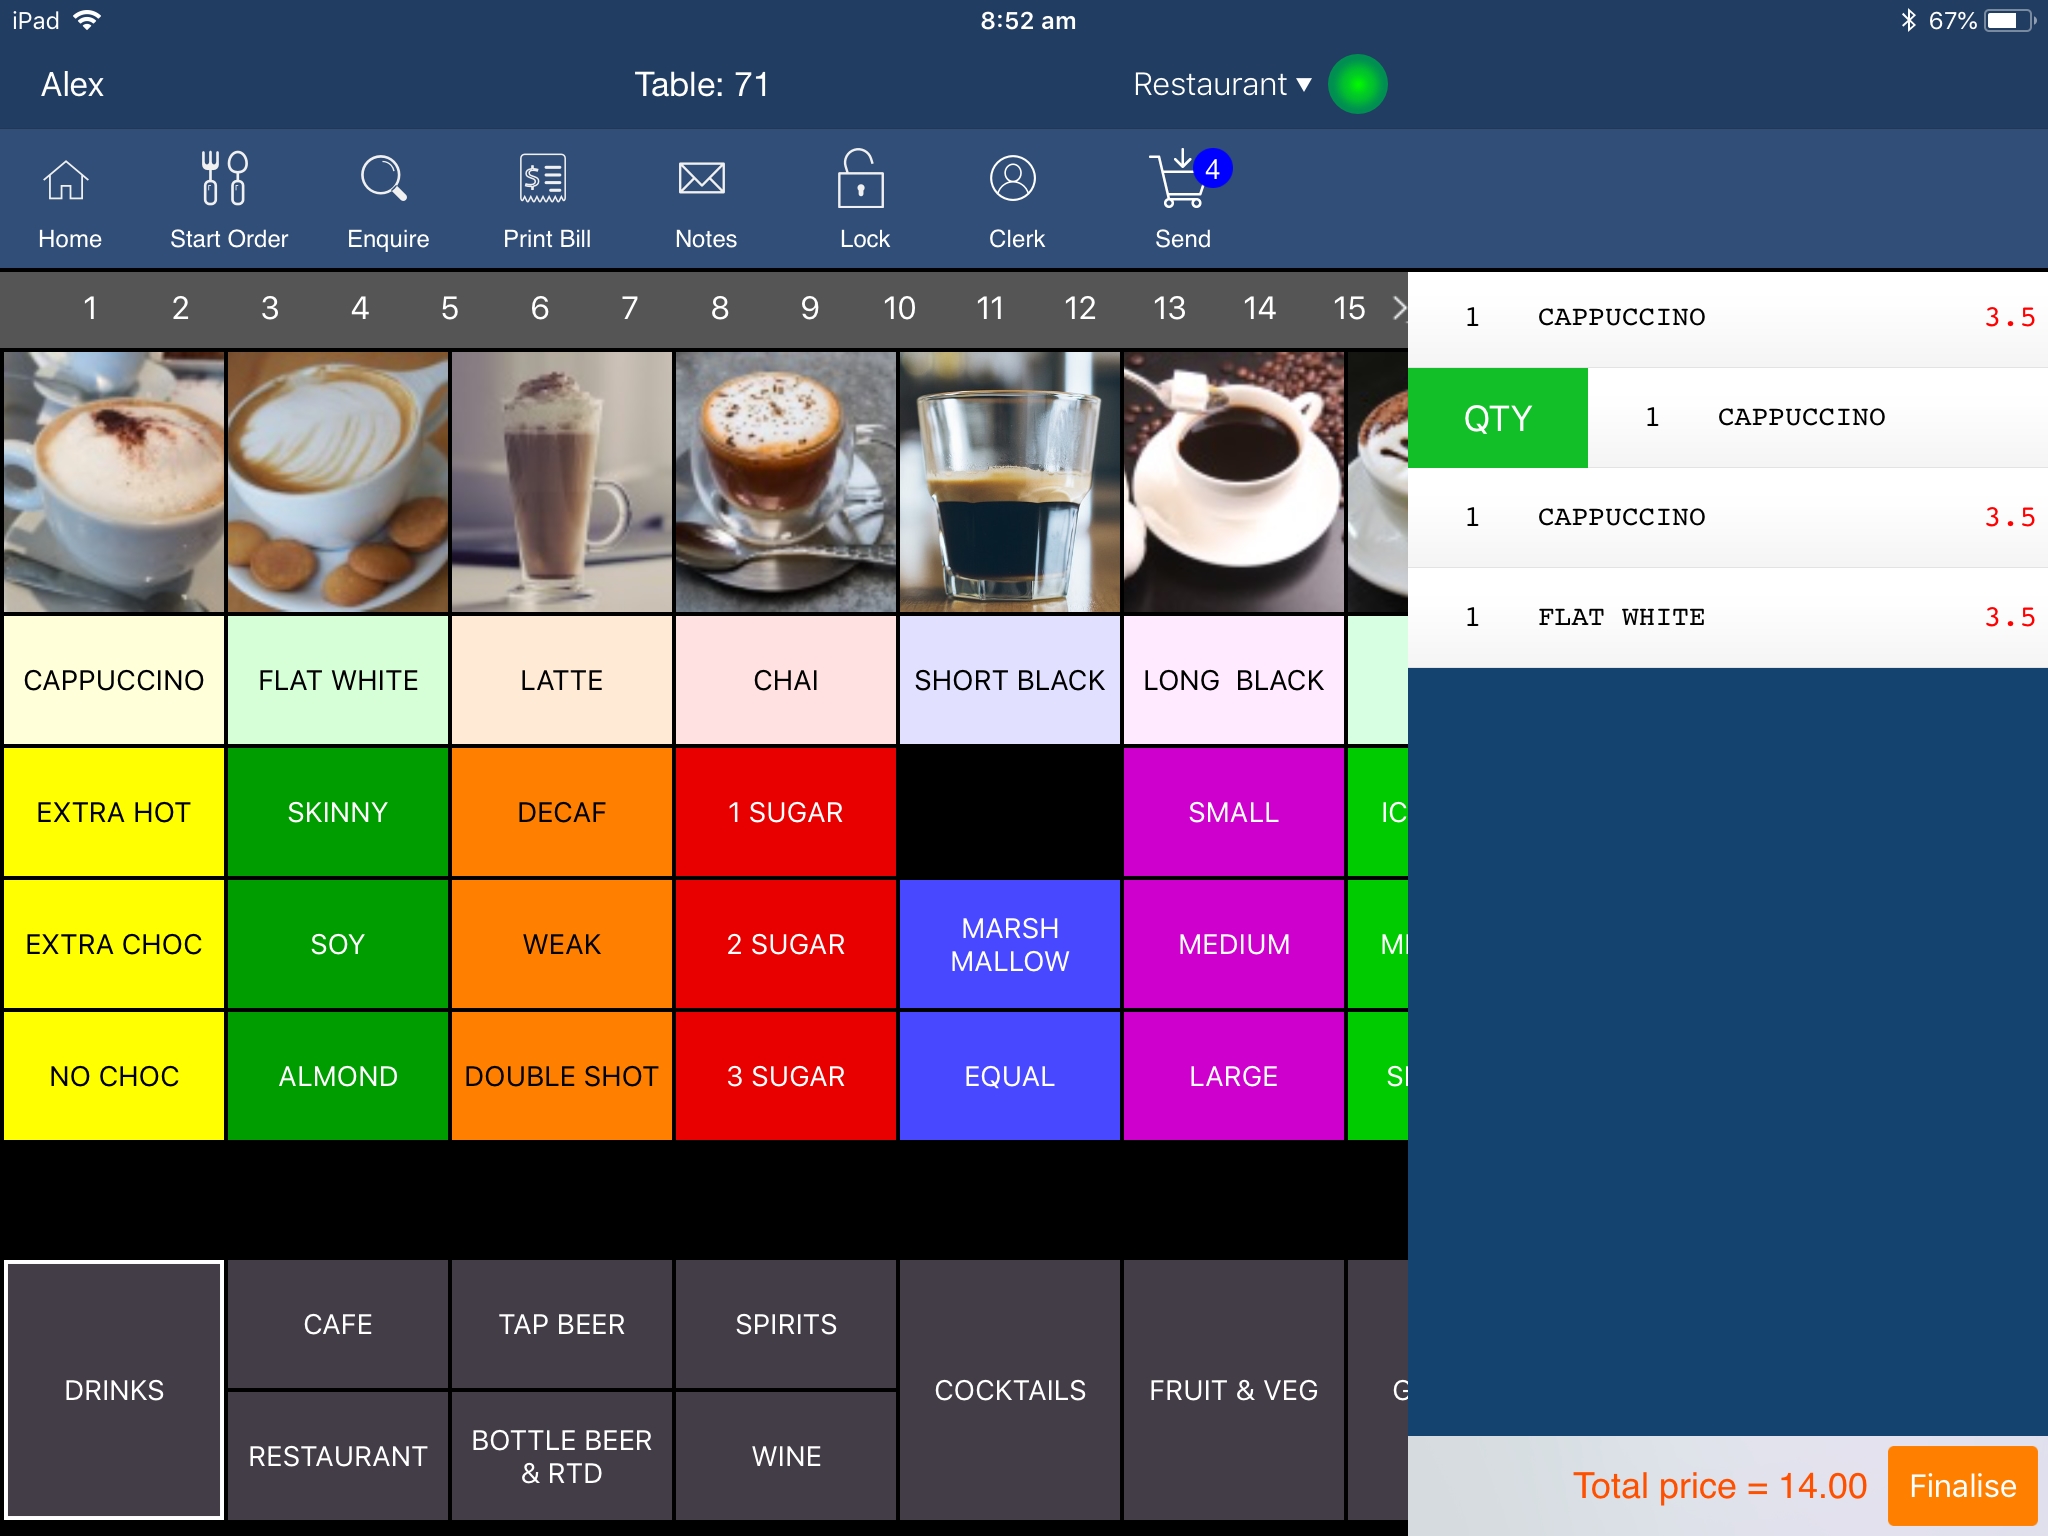
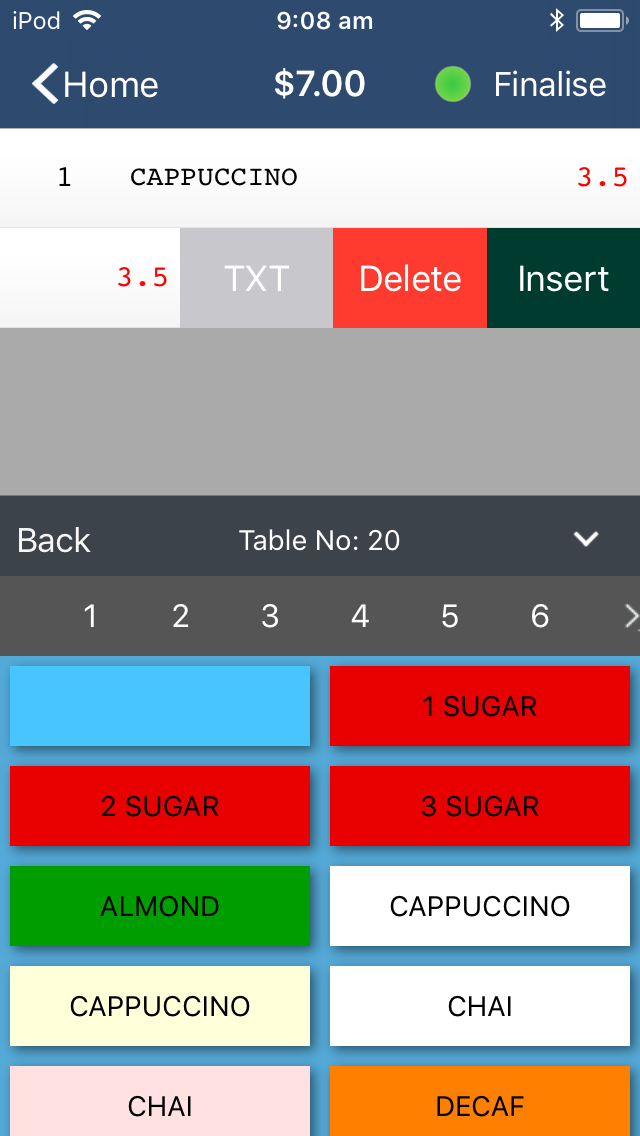
Swipe left on an item in the viewing area and press Delete to remove it from the order.
You can also add some text to the item, or insert a new item if you have print lines for order of meal service enacted.

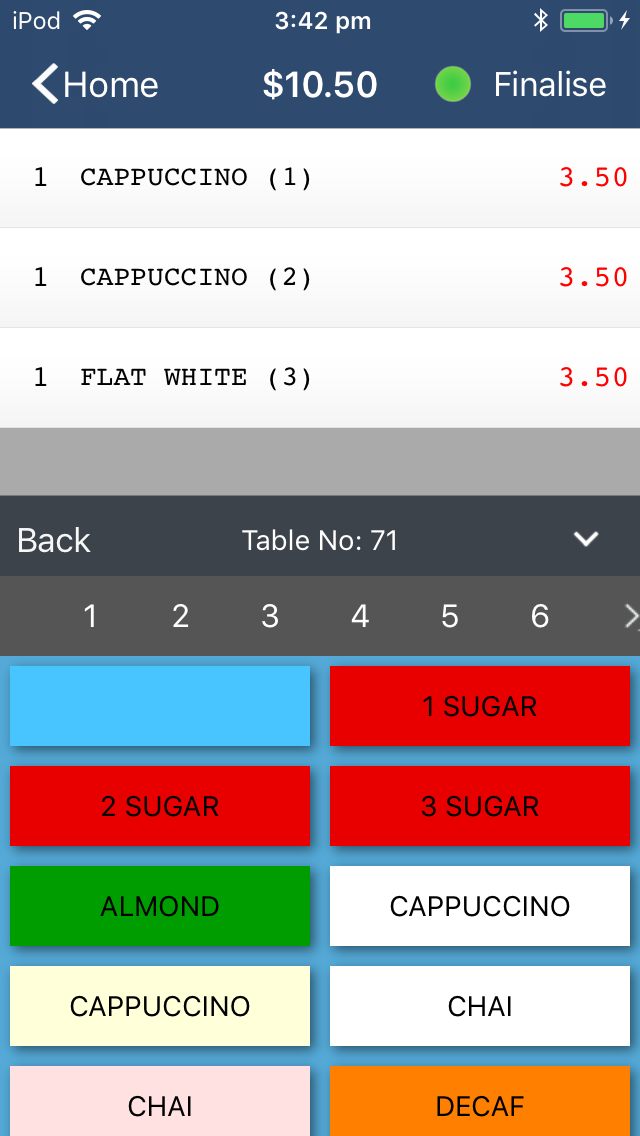
If required, you can also allocate items in the order to specific seat numbers.
To do this, press the seat number, then select the items that you want to add to the seat number.
To add items to the next seat number, select the next seat number in the list, then continue to add items.
Repeat this process until you've added items for all seats occupied at the table.
Each item that has been assigned to a seat will show the seat number in brackets after the item name.
If any items are accidentally added to the wrong seat number or if you want to change the seat number that an item has been assigned to, you can do this by pressing on the item from the list of items in the order, then press the new seat number that you want to allocate the item to.
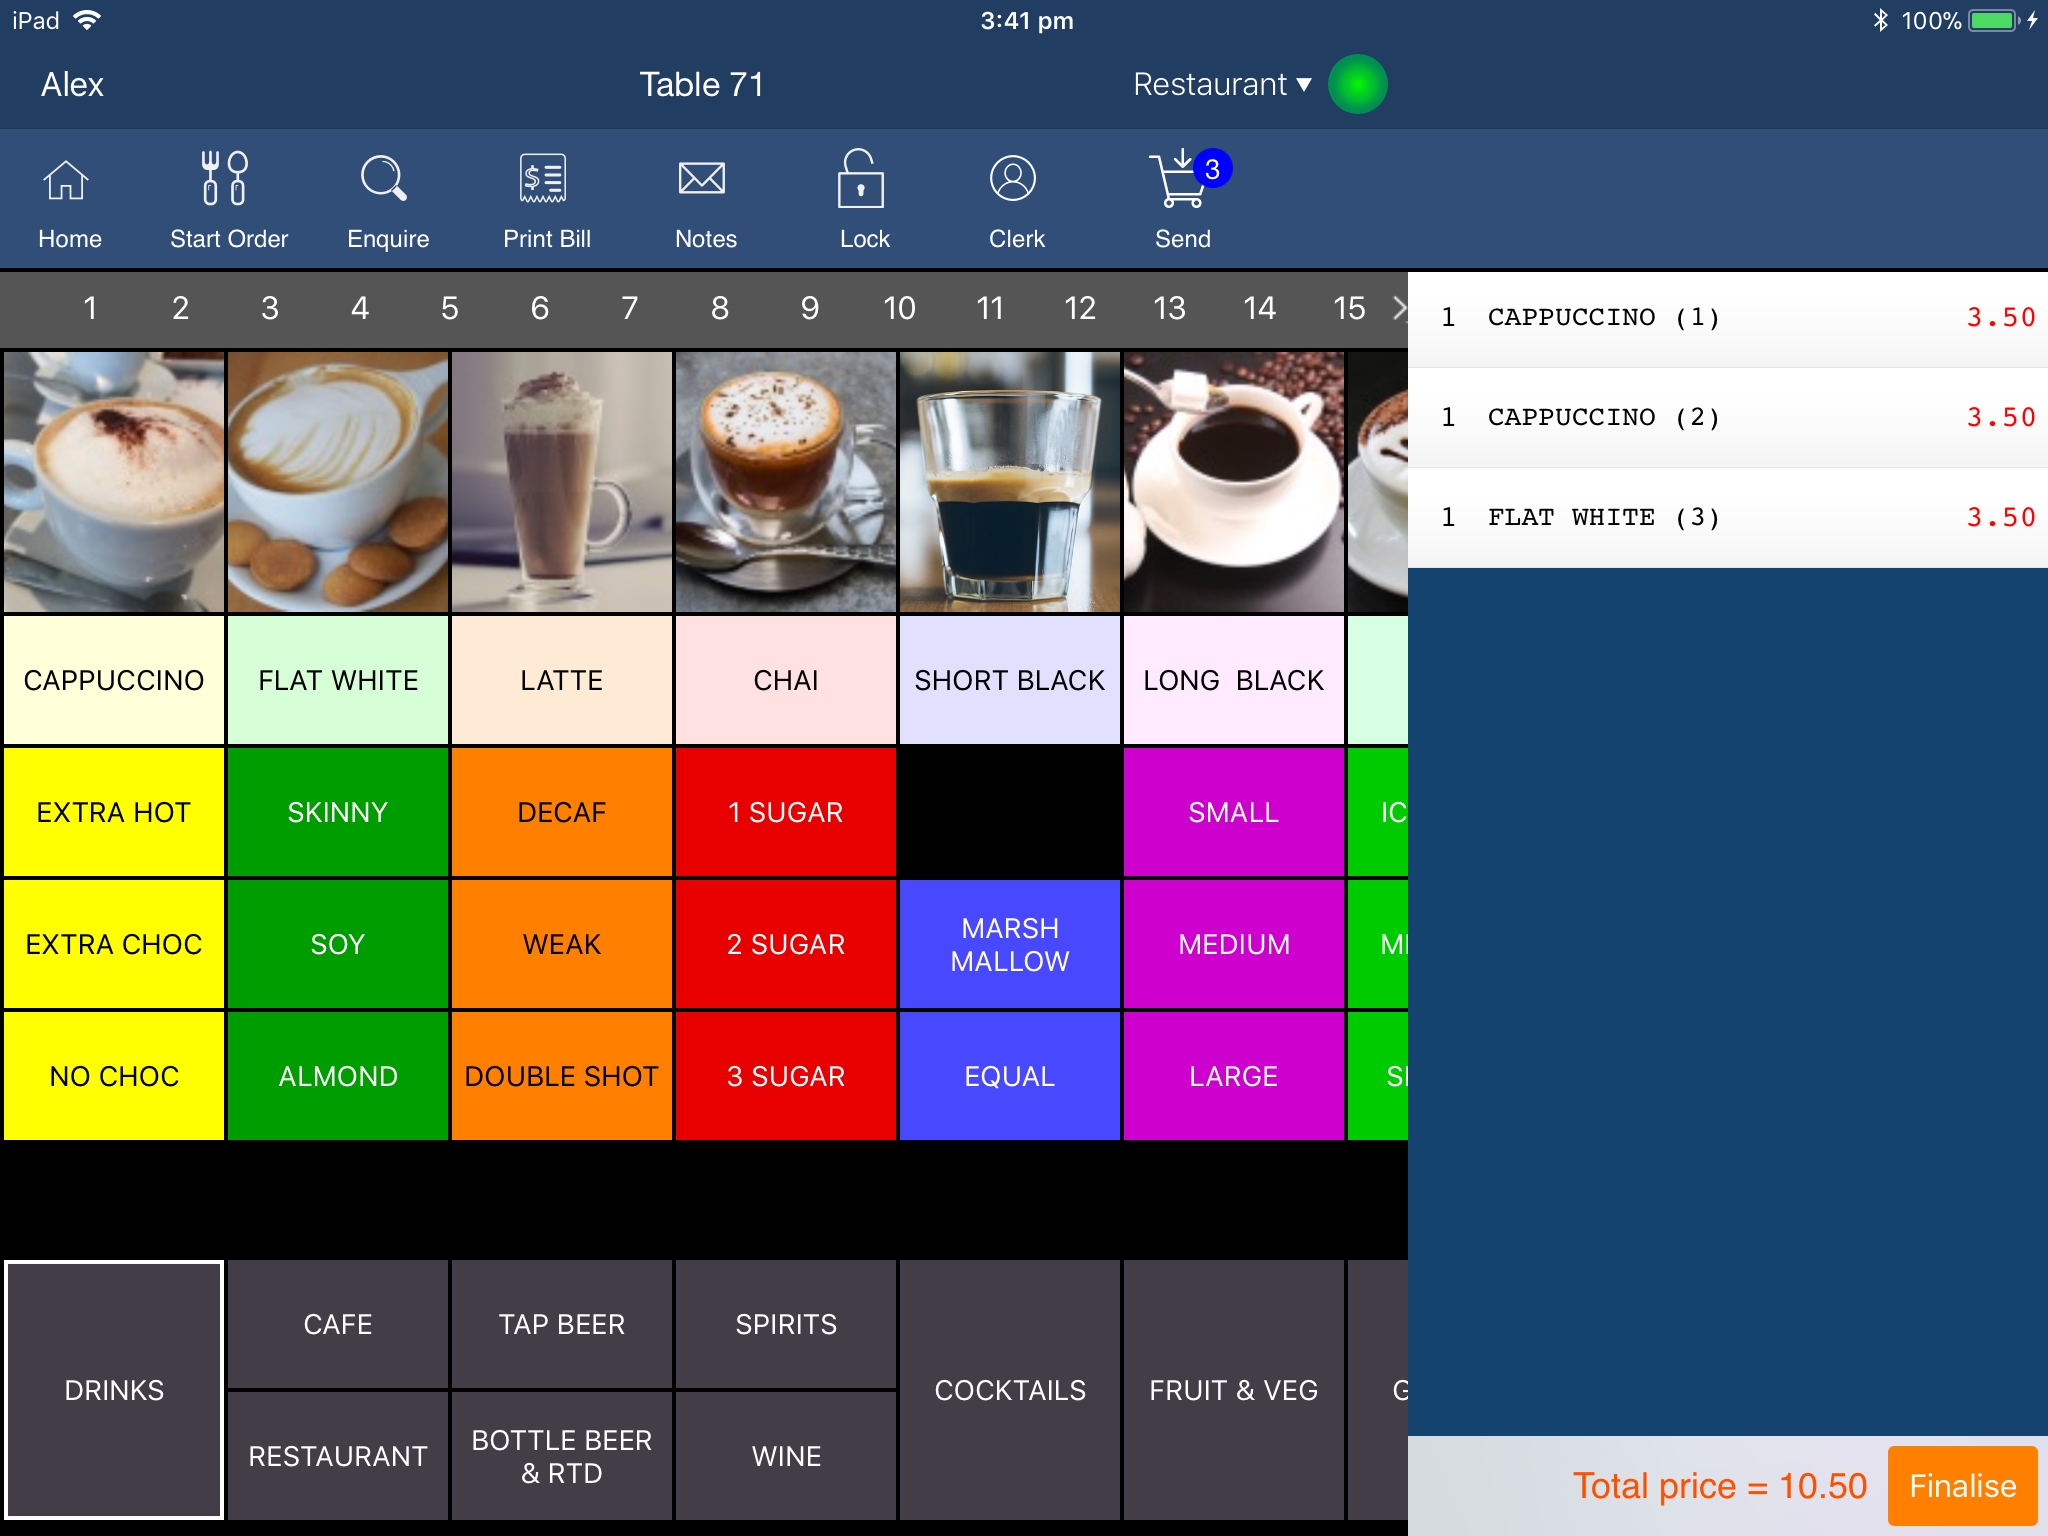
If there are a lot of items entered into the sale you can use the scroll bar to navigate through each item, or you can select ˅ to expand the order display.
Press ^ to return the menus.
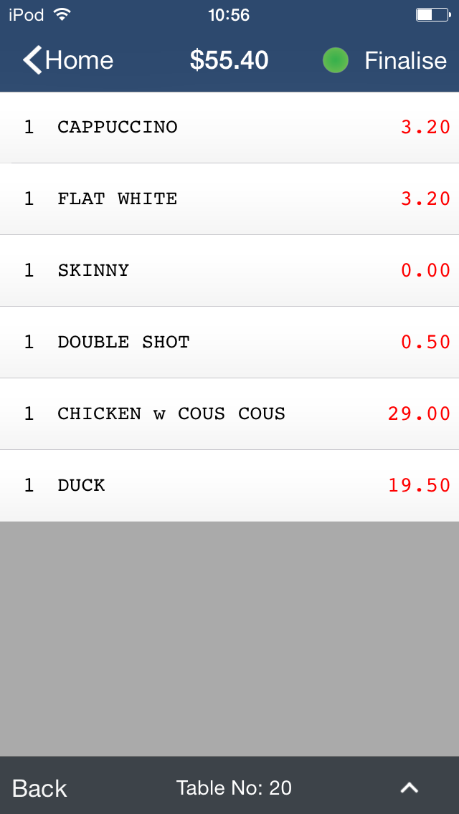
You can see the details of what is already on the table by pressing the table number and then press Enquire.
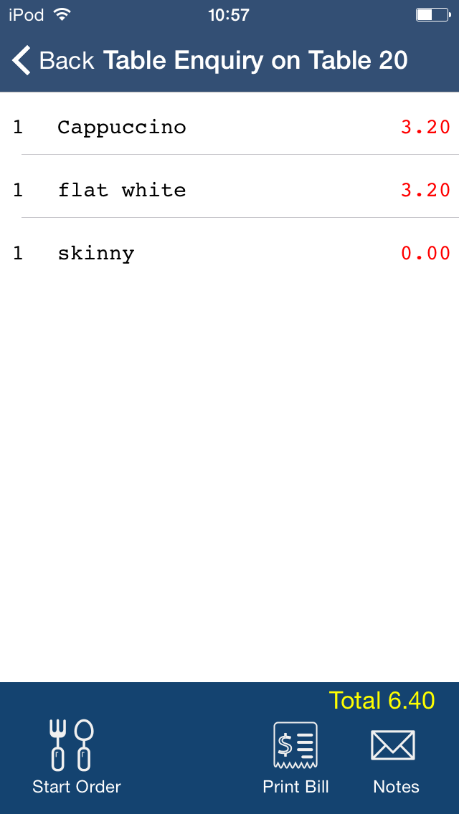
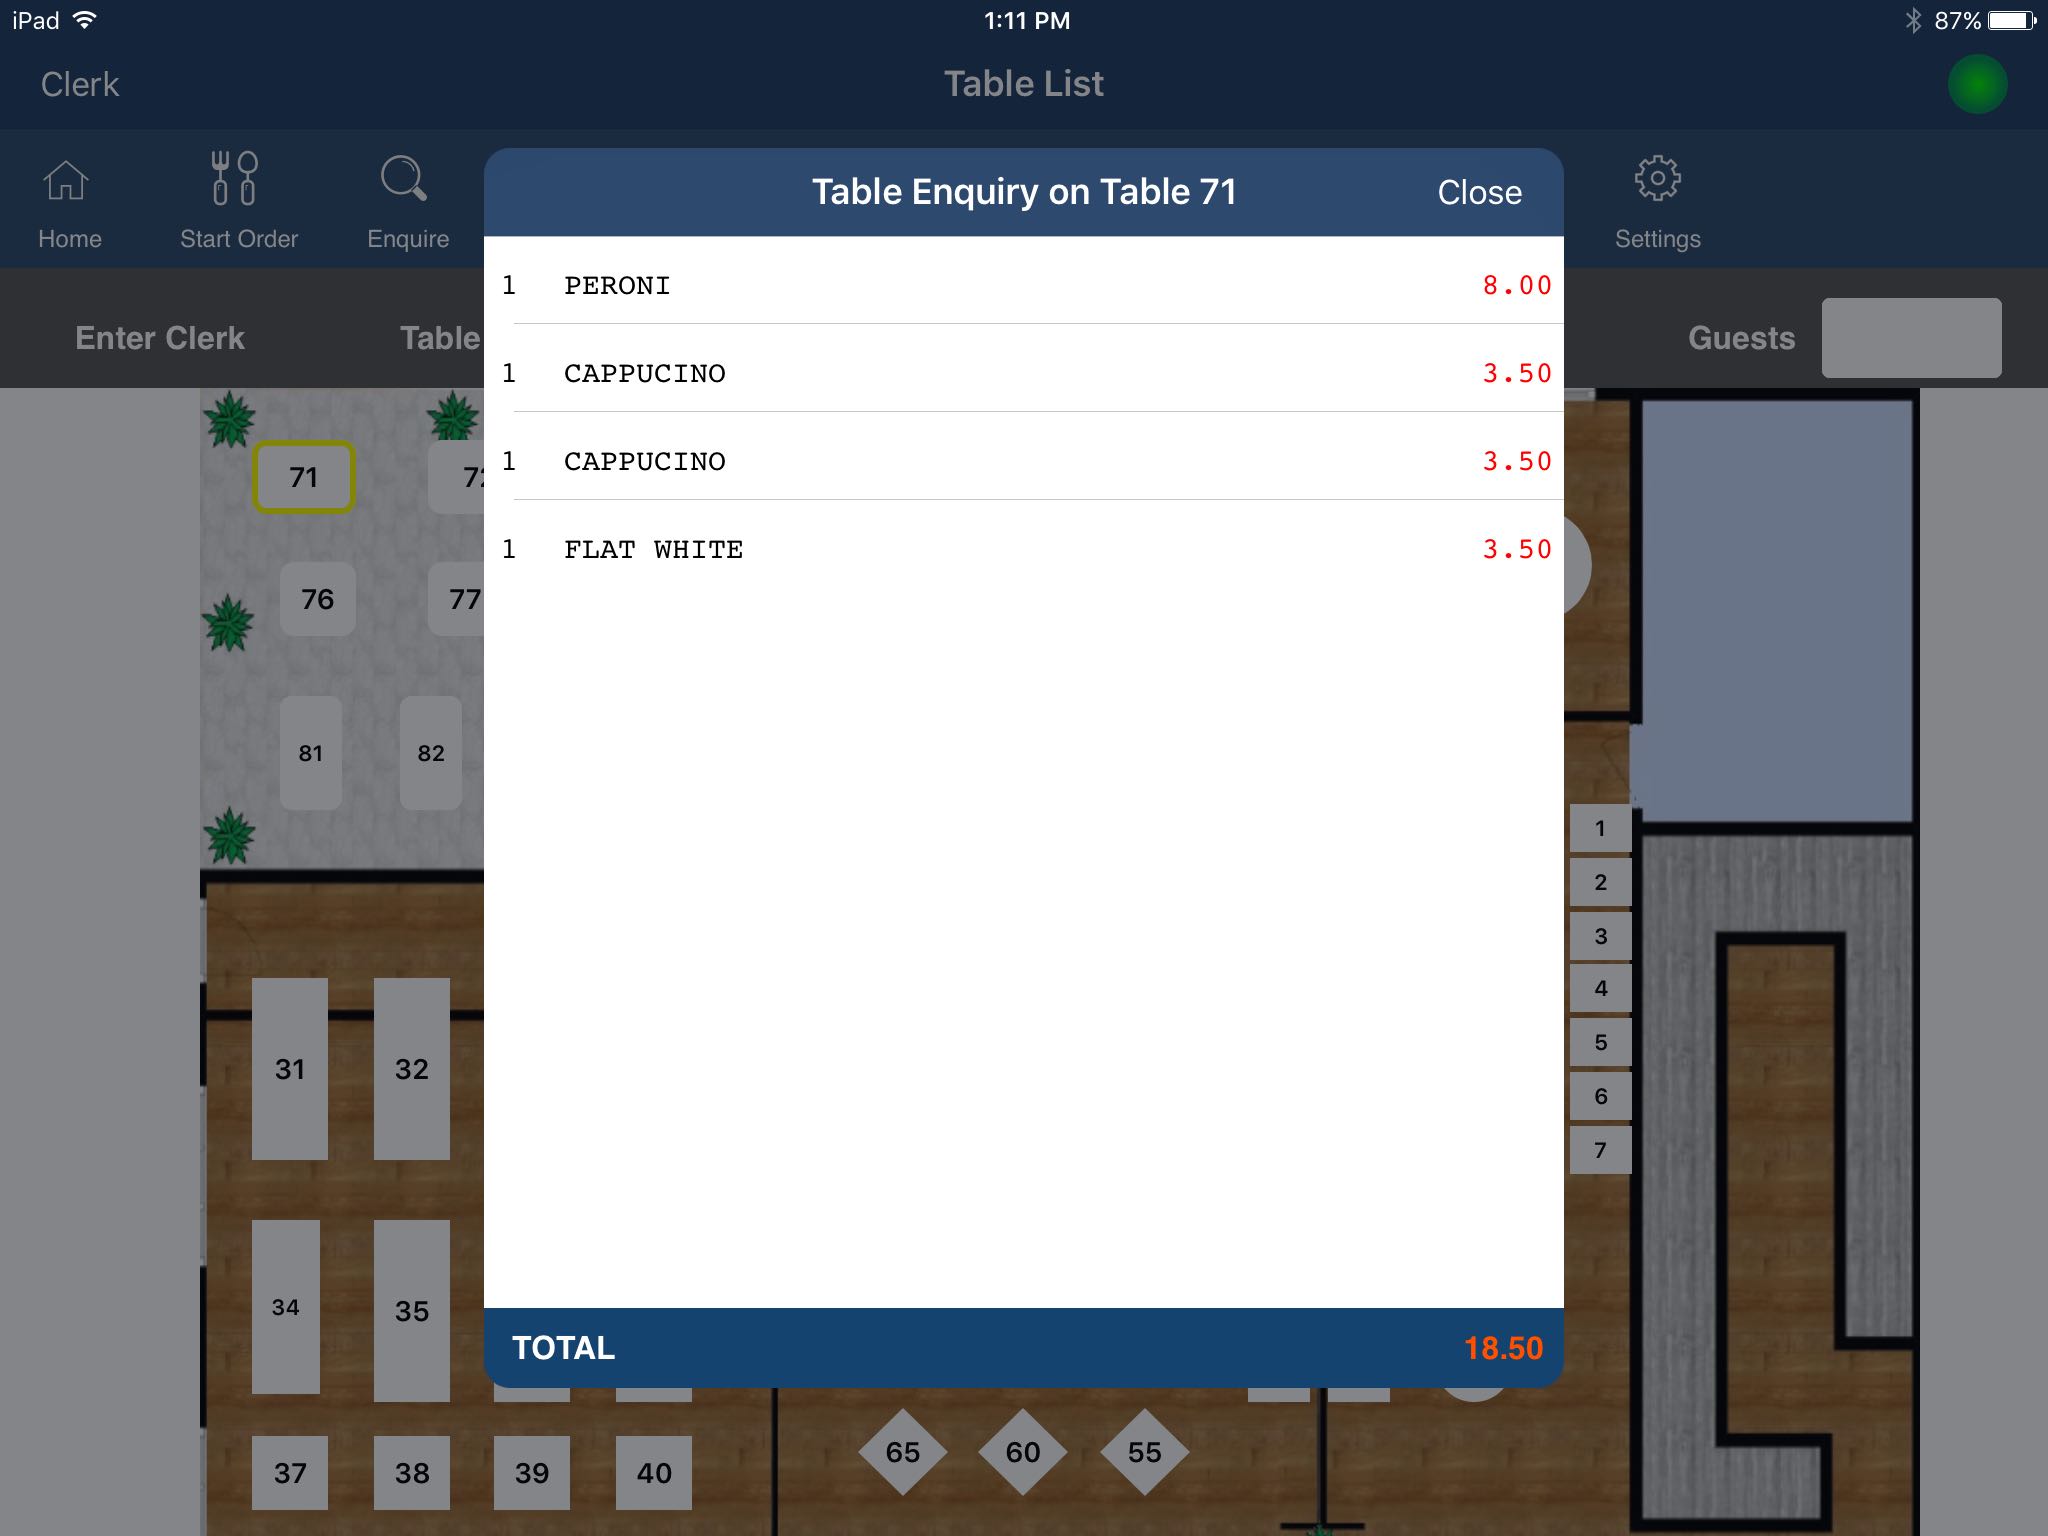
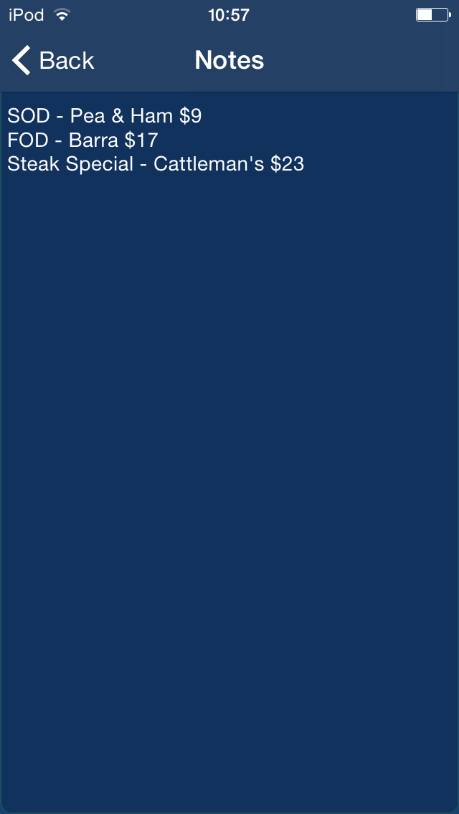
Press the Notes button to display any specials or instructions.

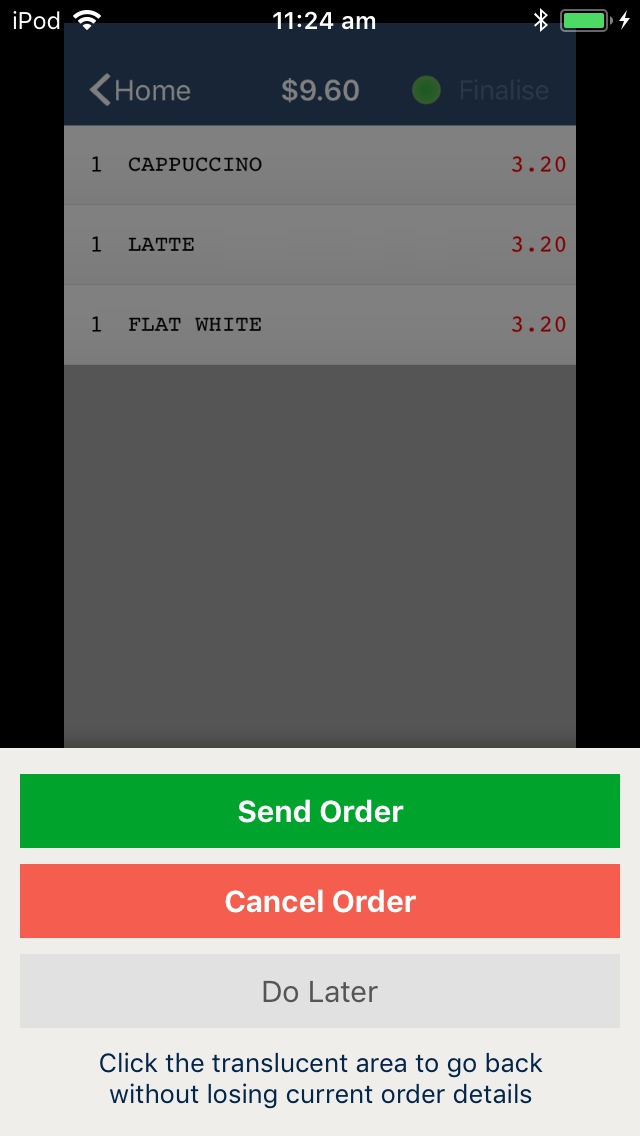
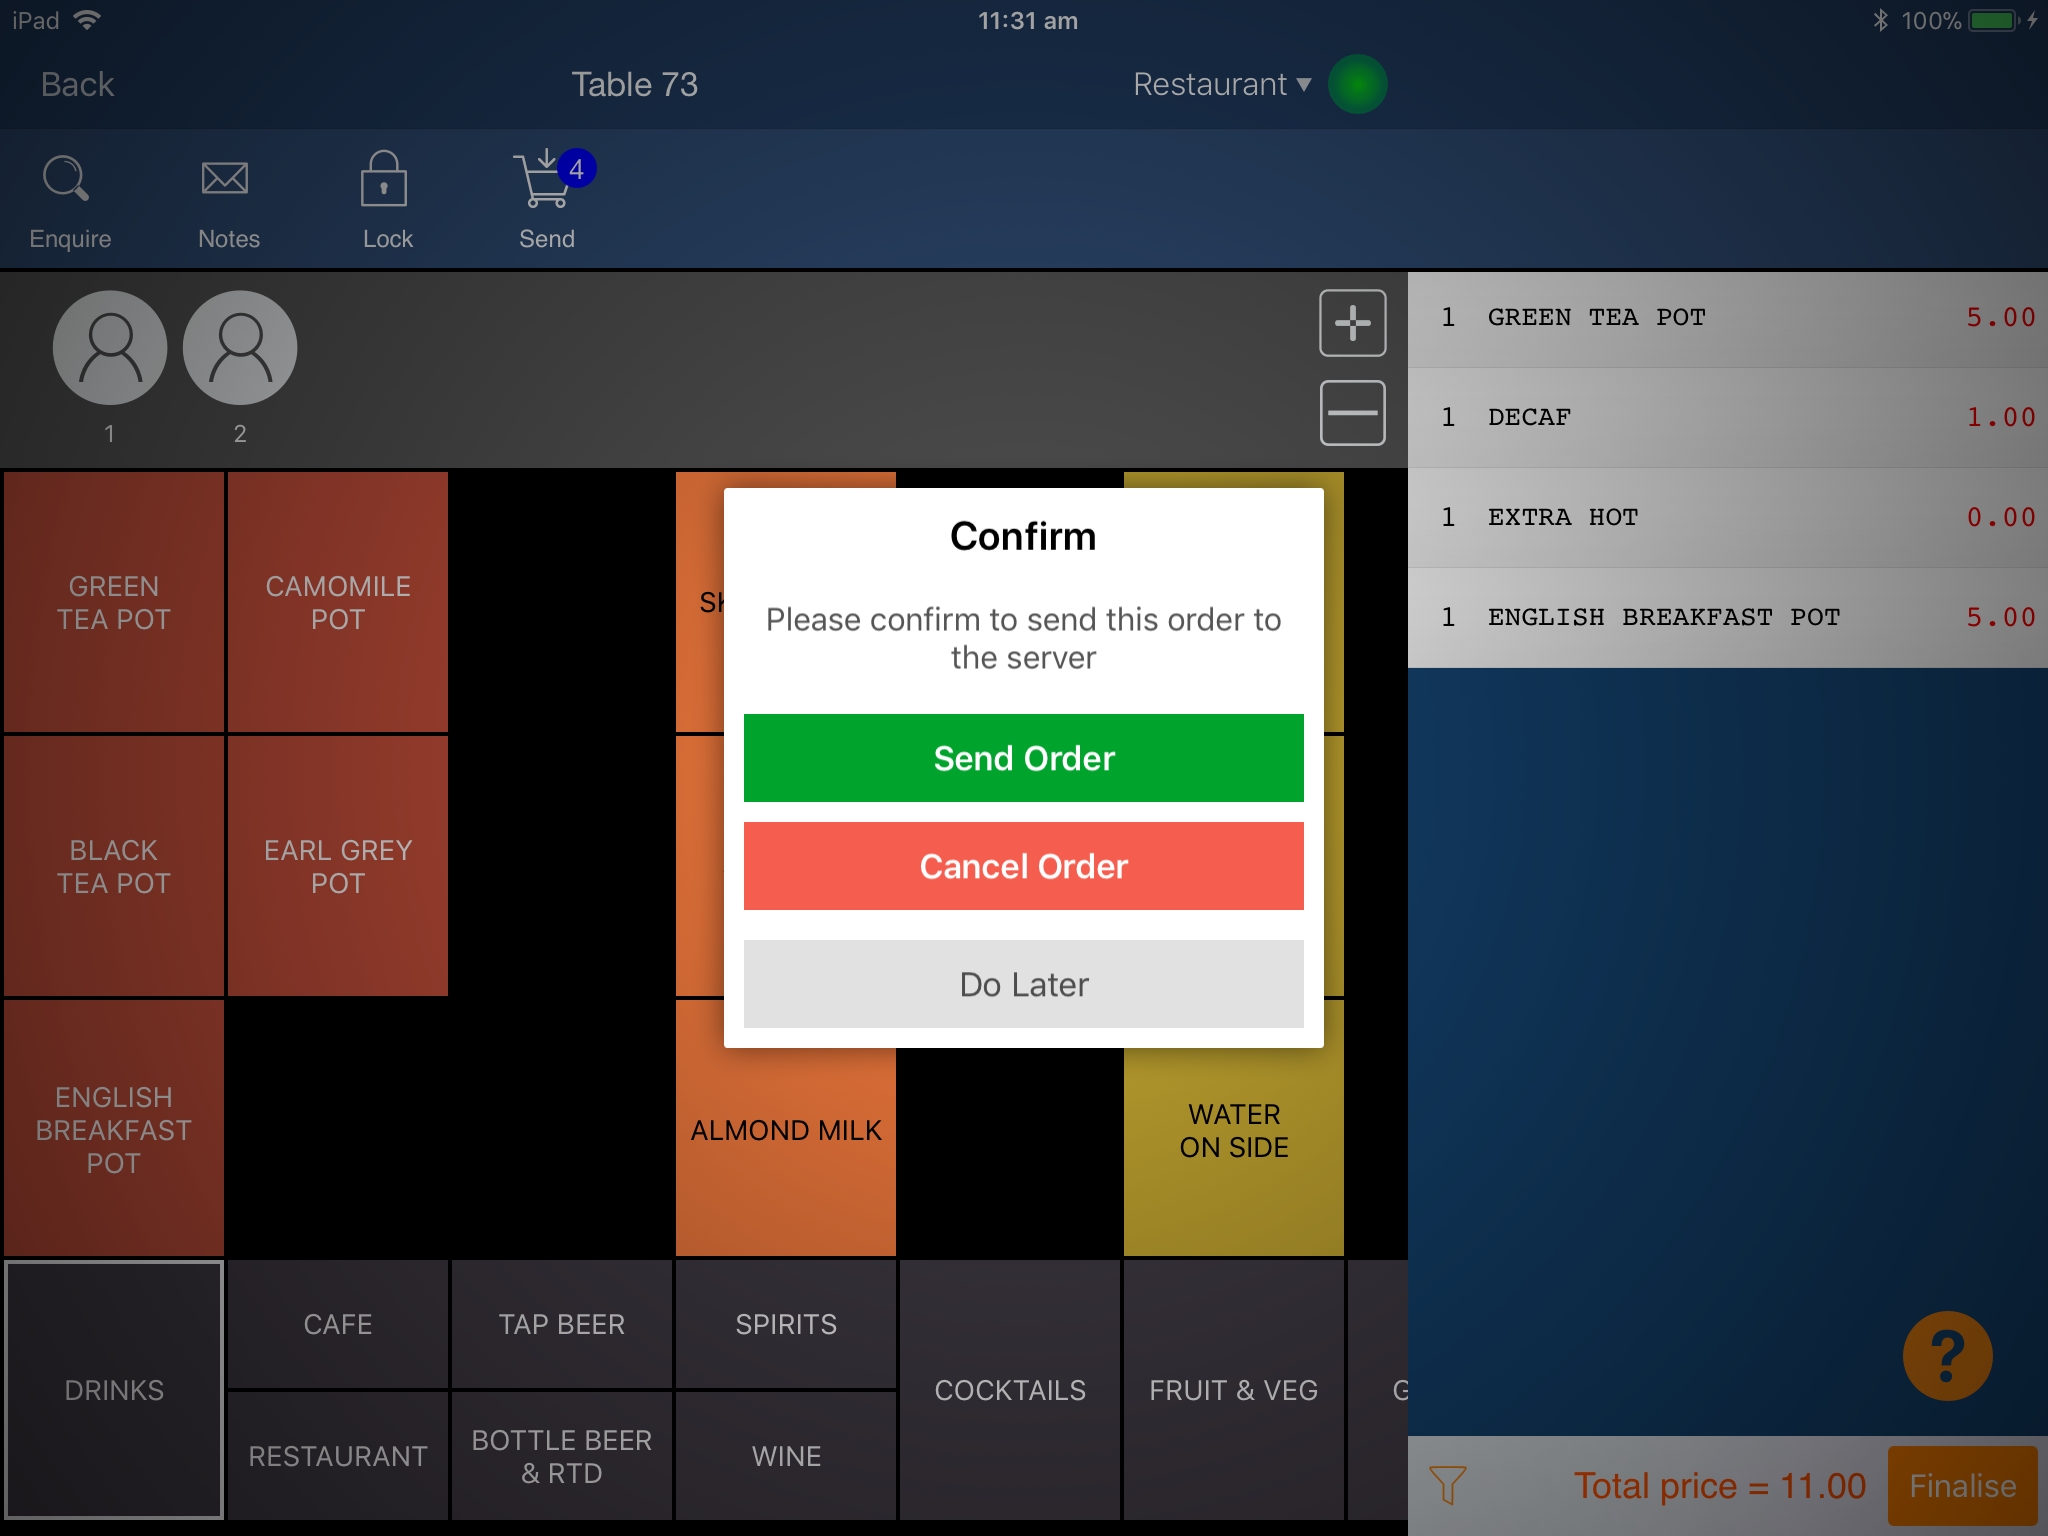
When you have added all the items you want to add, simply press Finalise to send it to the printer.
The table status will change to show you the process the table is currently on.
Each table status will have a unique colour allocated to it for easily identifying a table's current status.
Table Status names and colours can be configured to suit your needs.
See the Restaurant Tab under Global Options for more details on configuring the Table Status buttons and Table Status colours.
You can select to print a bill from the app which will also be reflected on the table with live status display.
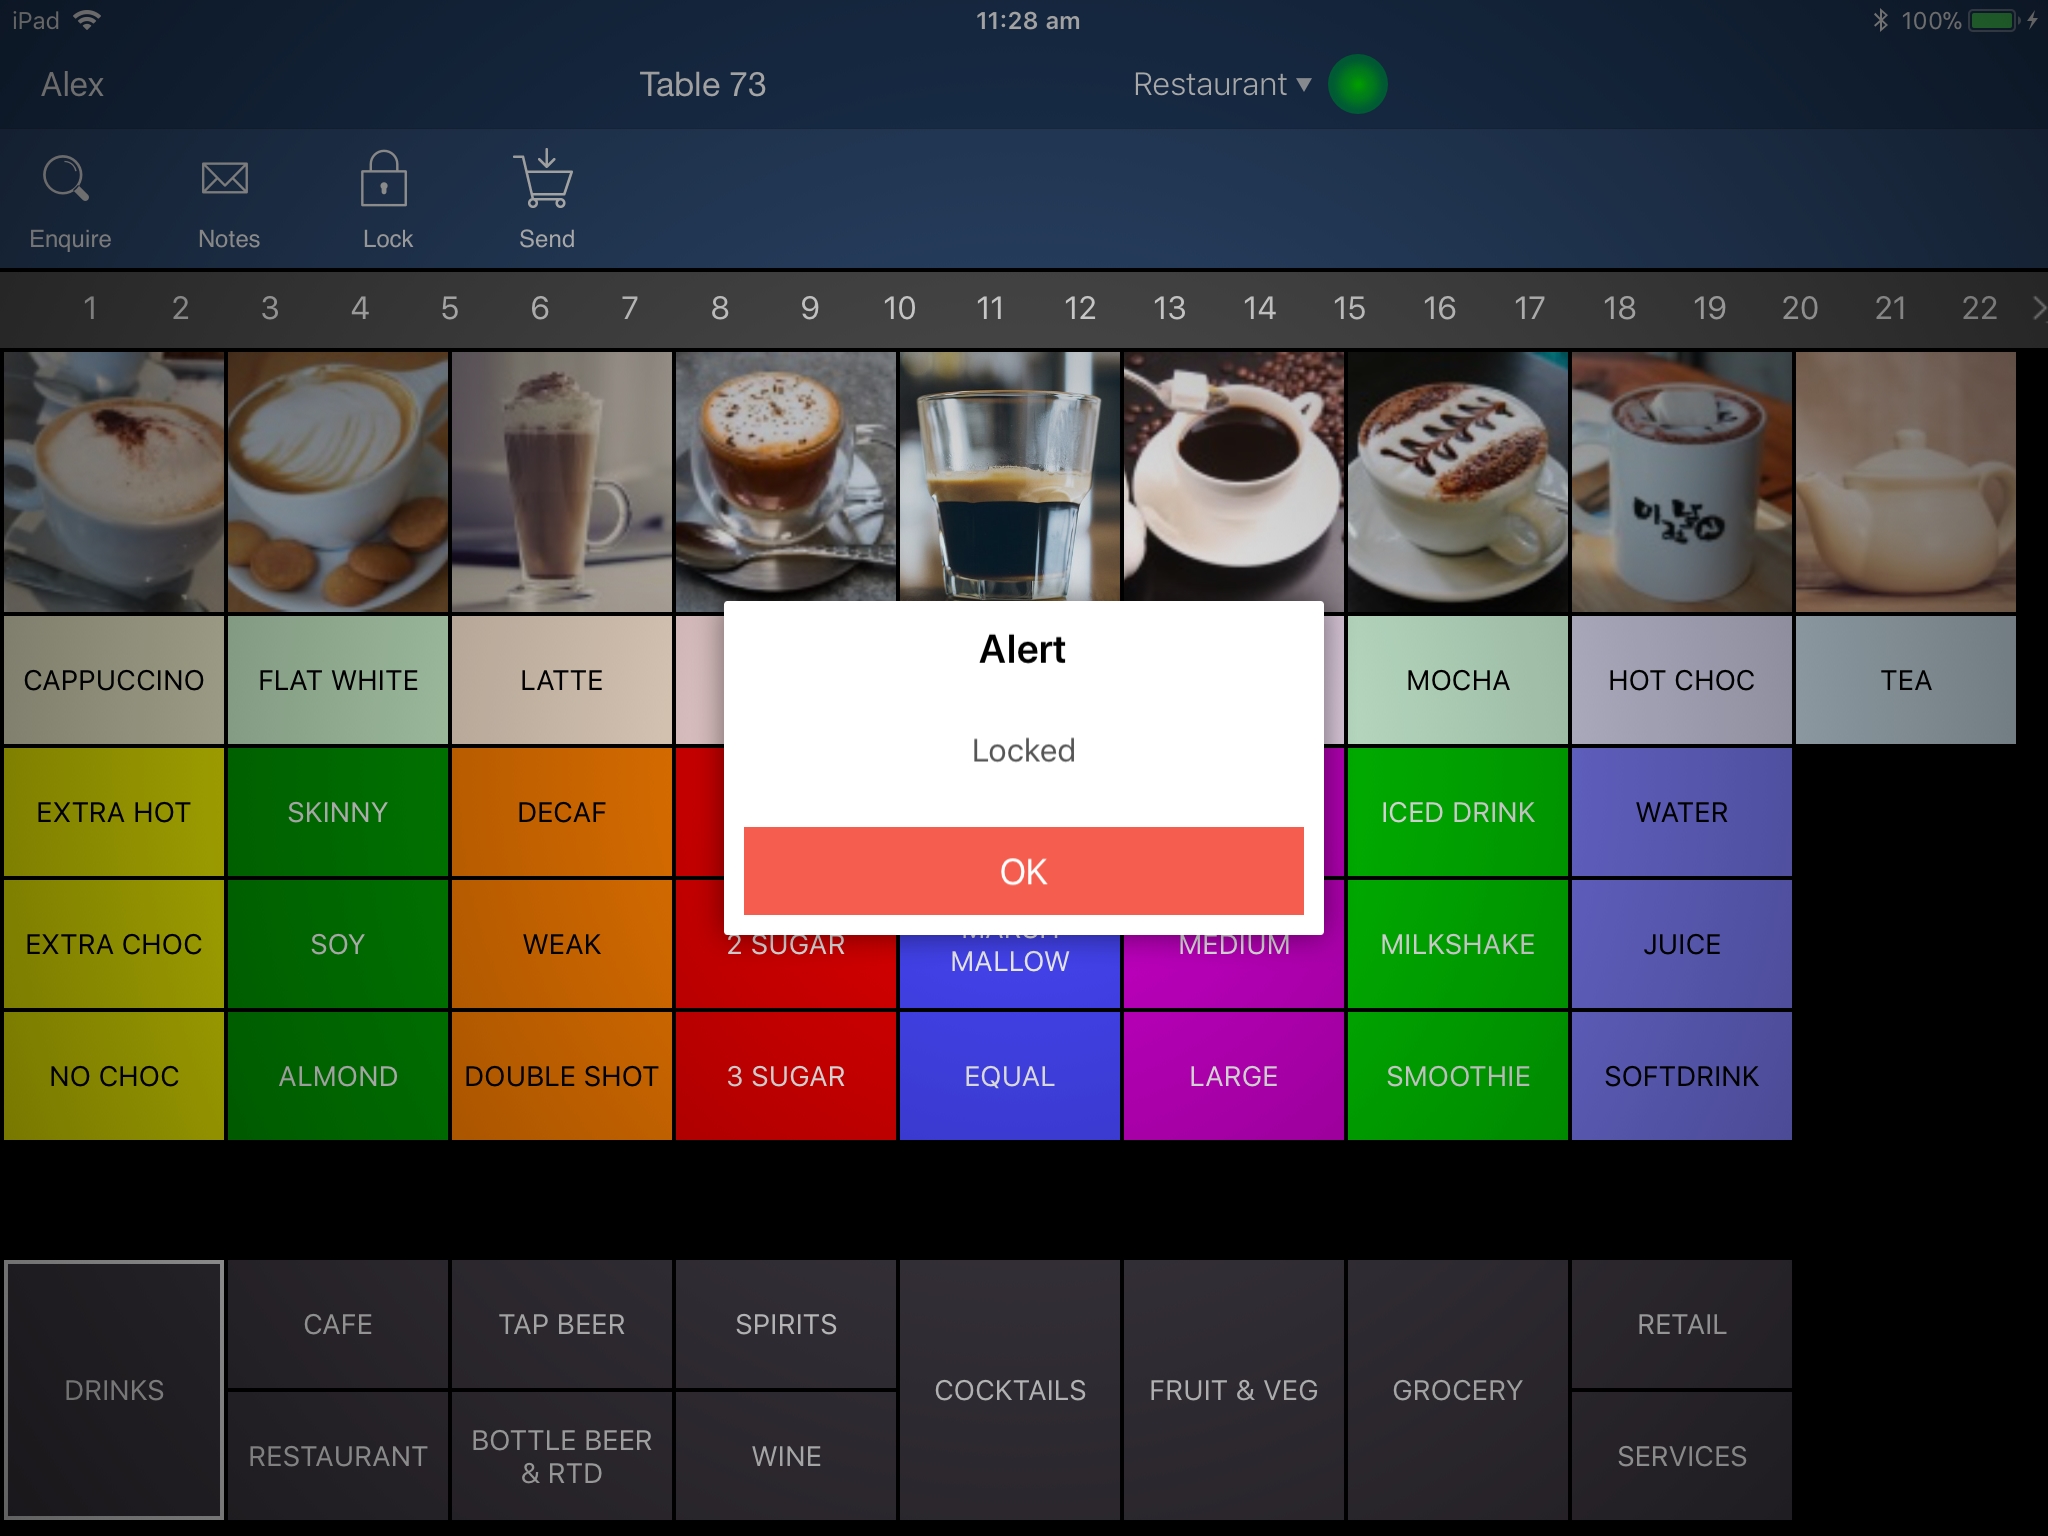
On larger screen devices you can lock the device to a single table and allow customers to enter their own meals.
This is probably not a great idea in a fine dining restaurant with entrees and main as this can get complicated, but in a bistro environment, it can be extremely easy.
These size devices will be locked to landscape mode only by default.
Before locking the device, ensure that you have selected the table the guests are seated at and pressed Start Order.
Press the lock button on the top centre of the screen.
Help tips will be displayed to show you and the customer how to order with the device.
You can press the question mark in the bottom right corner to turn off the help tips.
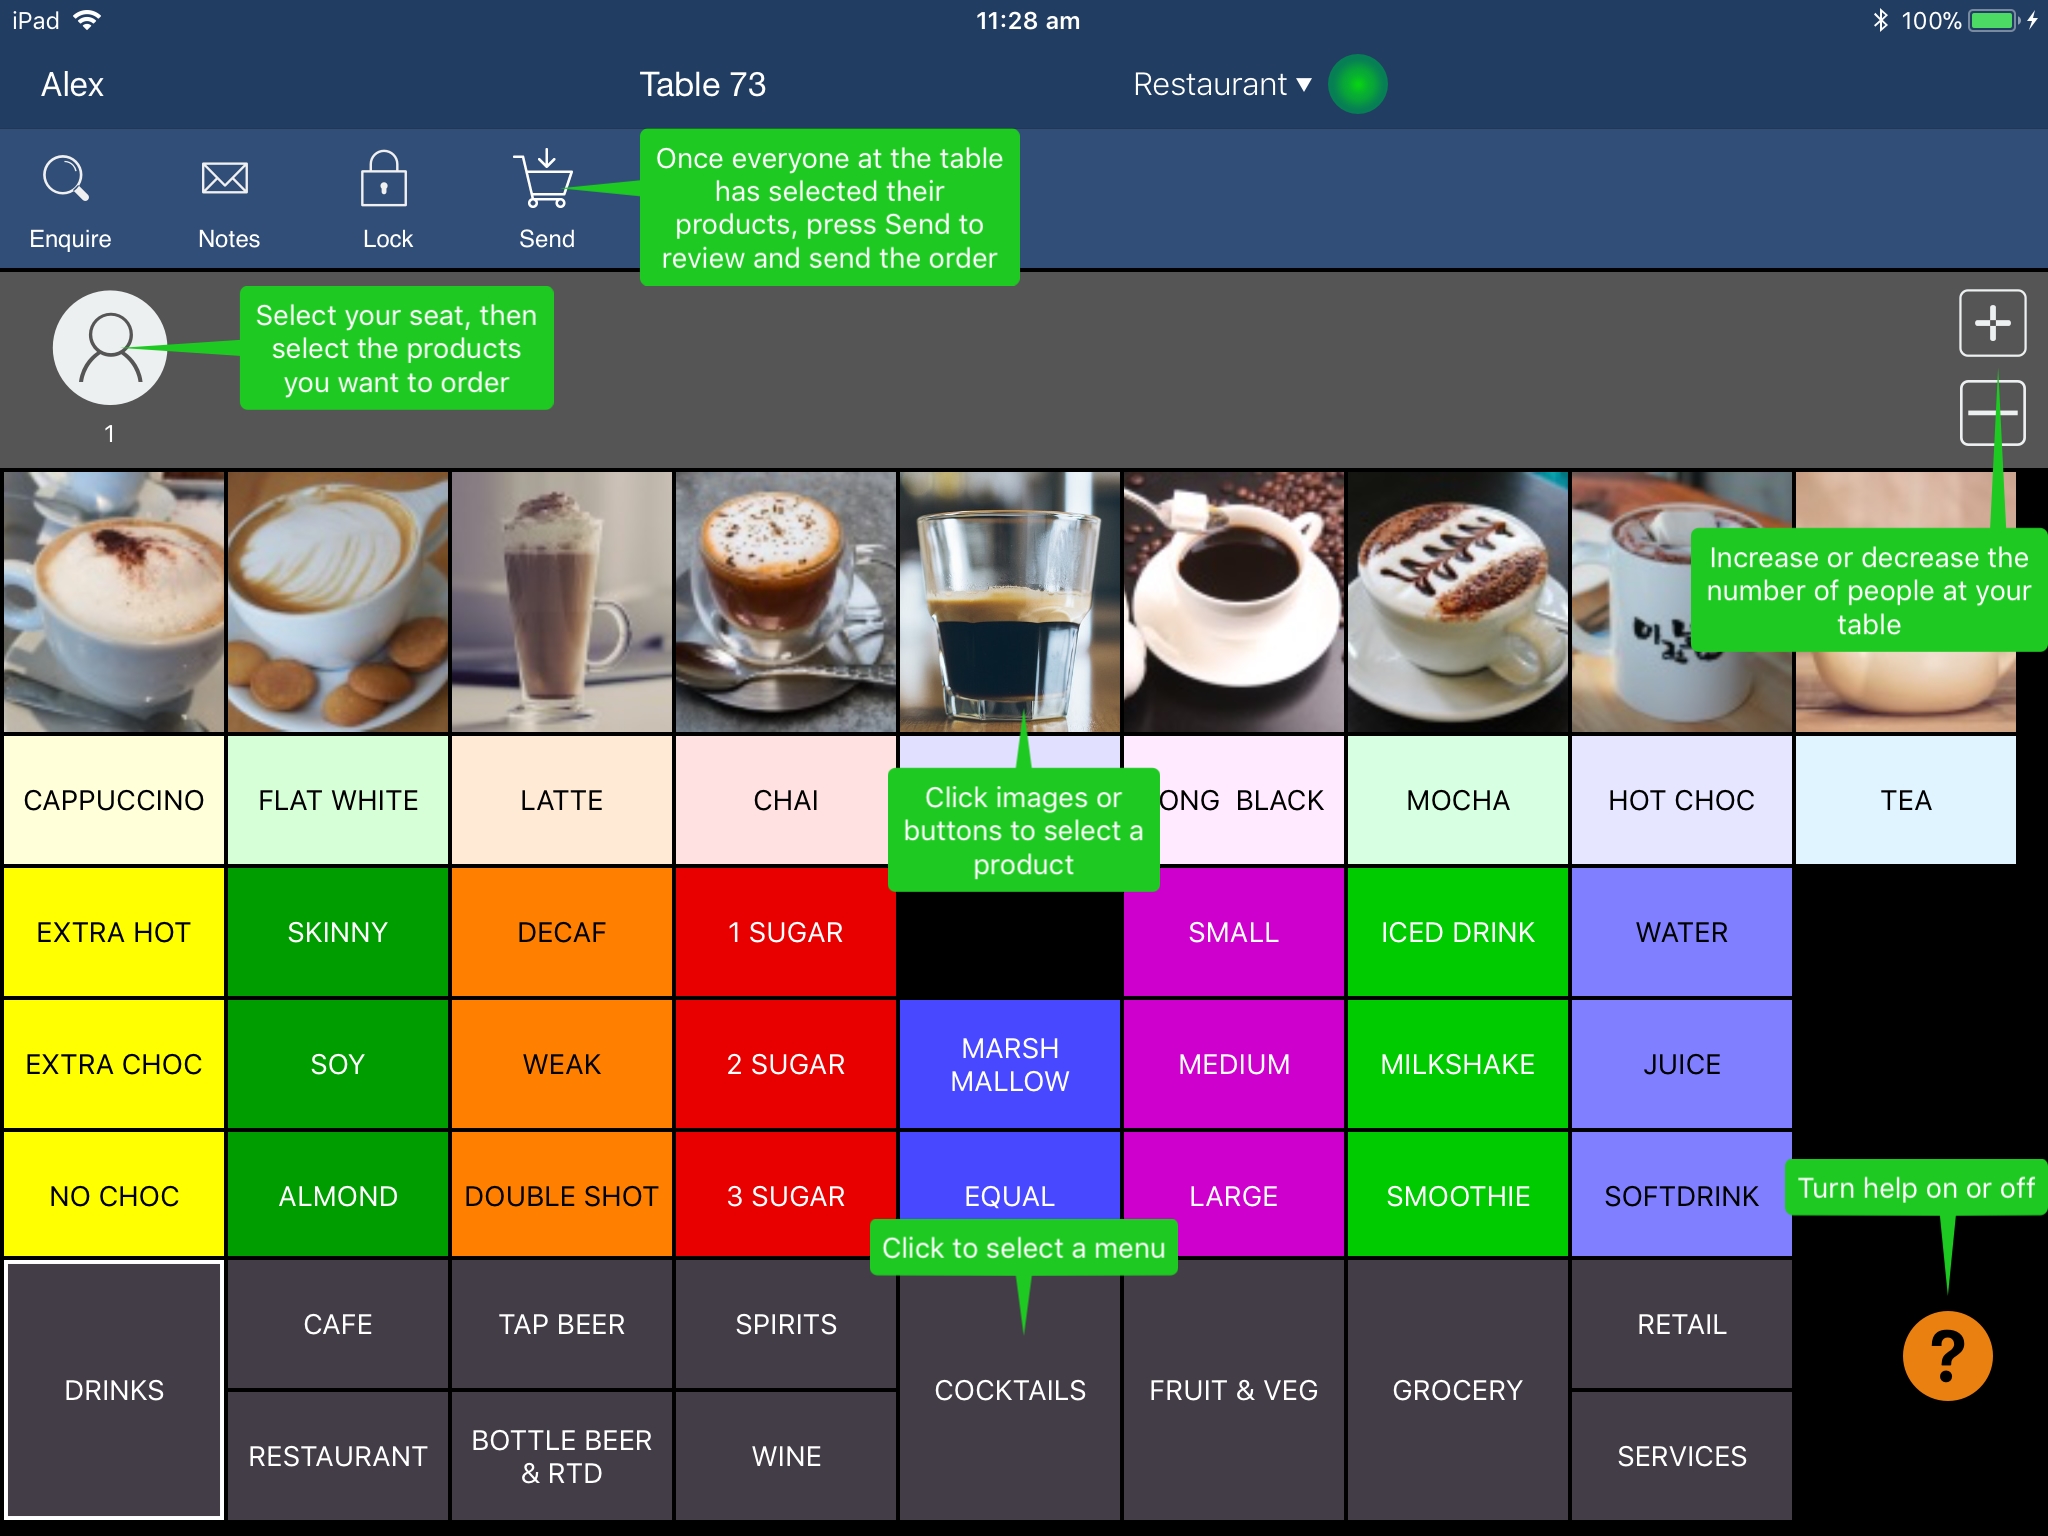
Enter the items into the device as per normal.
You have the option to select different seats.
When finished, press Finalise to send it to the kitchen and bar printers.
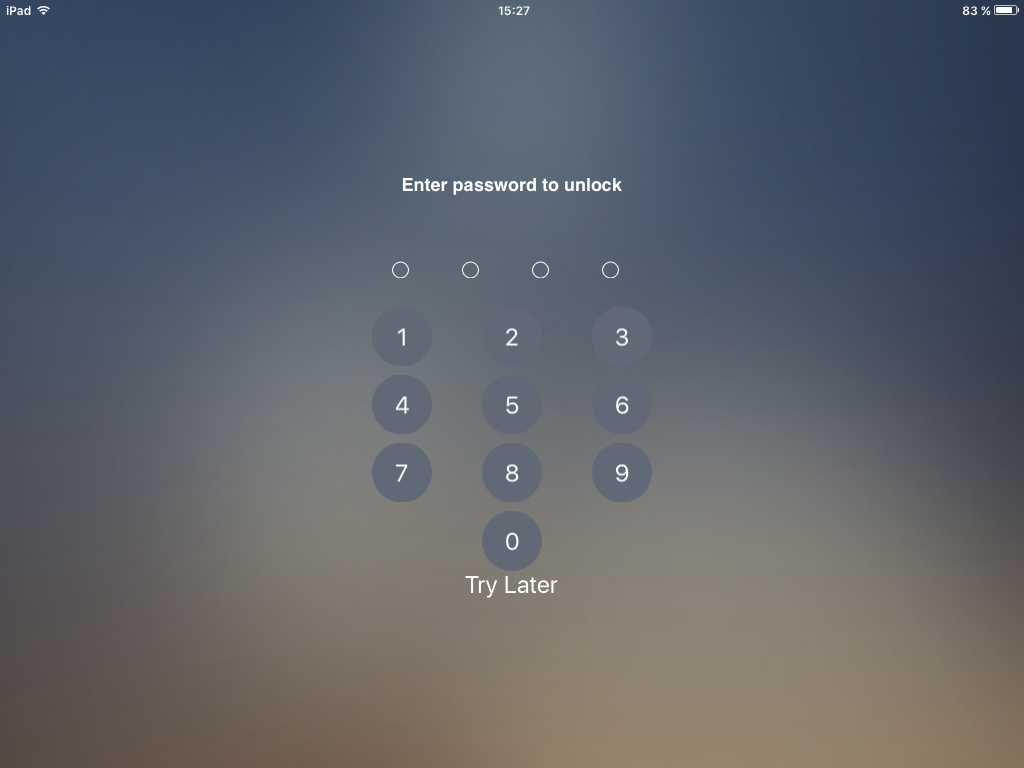
Before you can have full access to the app again, you will need to enter the password for the device.
This does not lock the device, it will only lock the Ideal Handheld app.
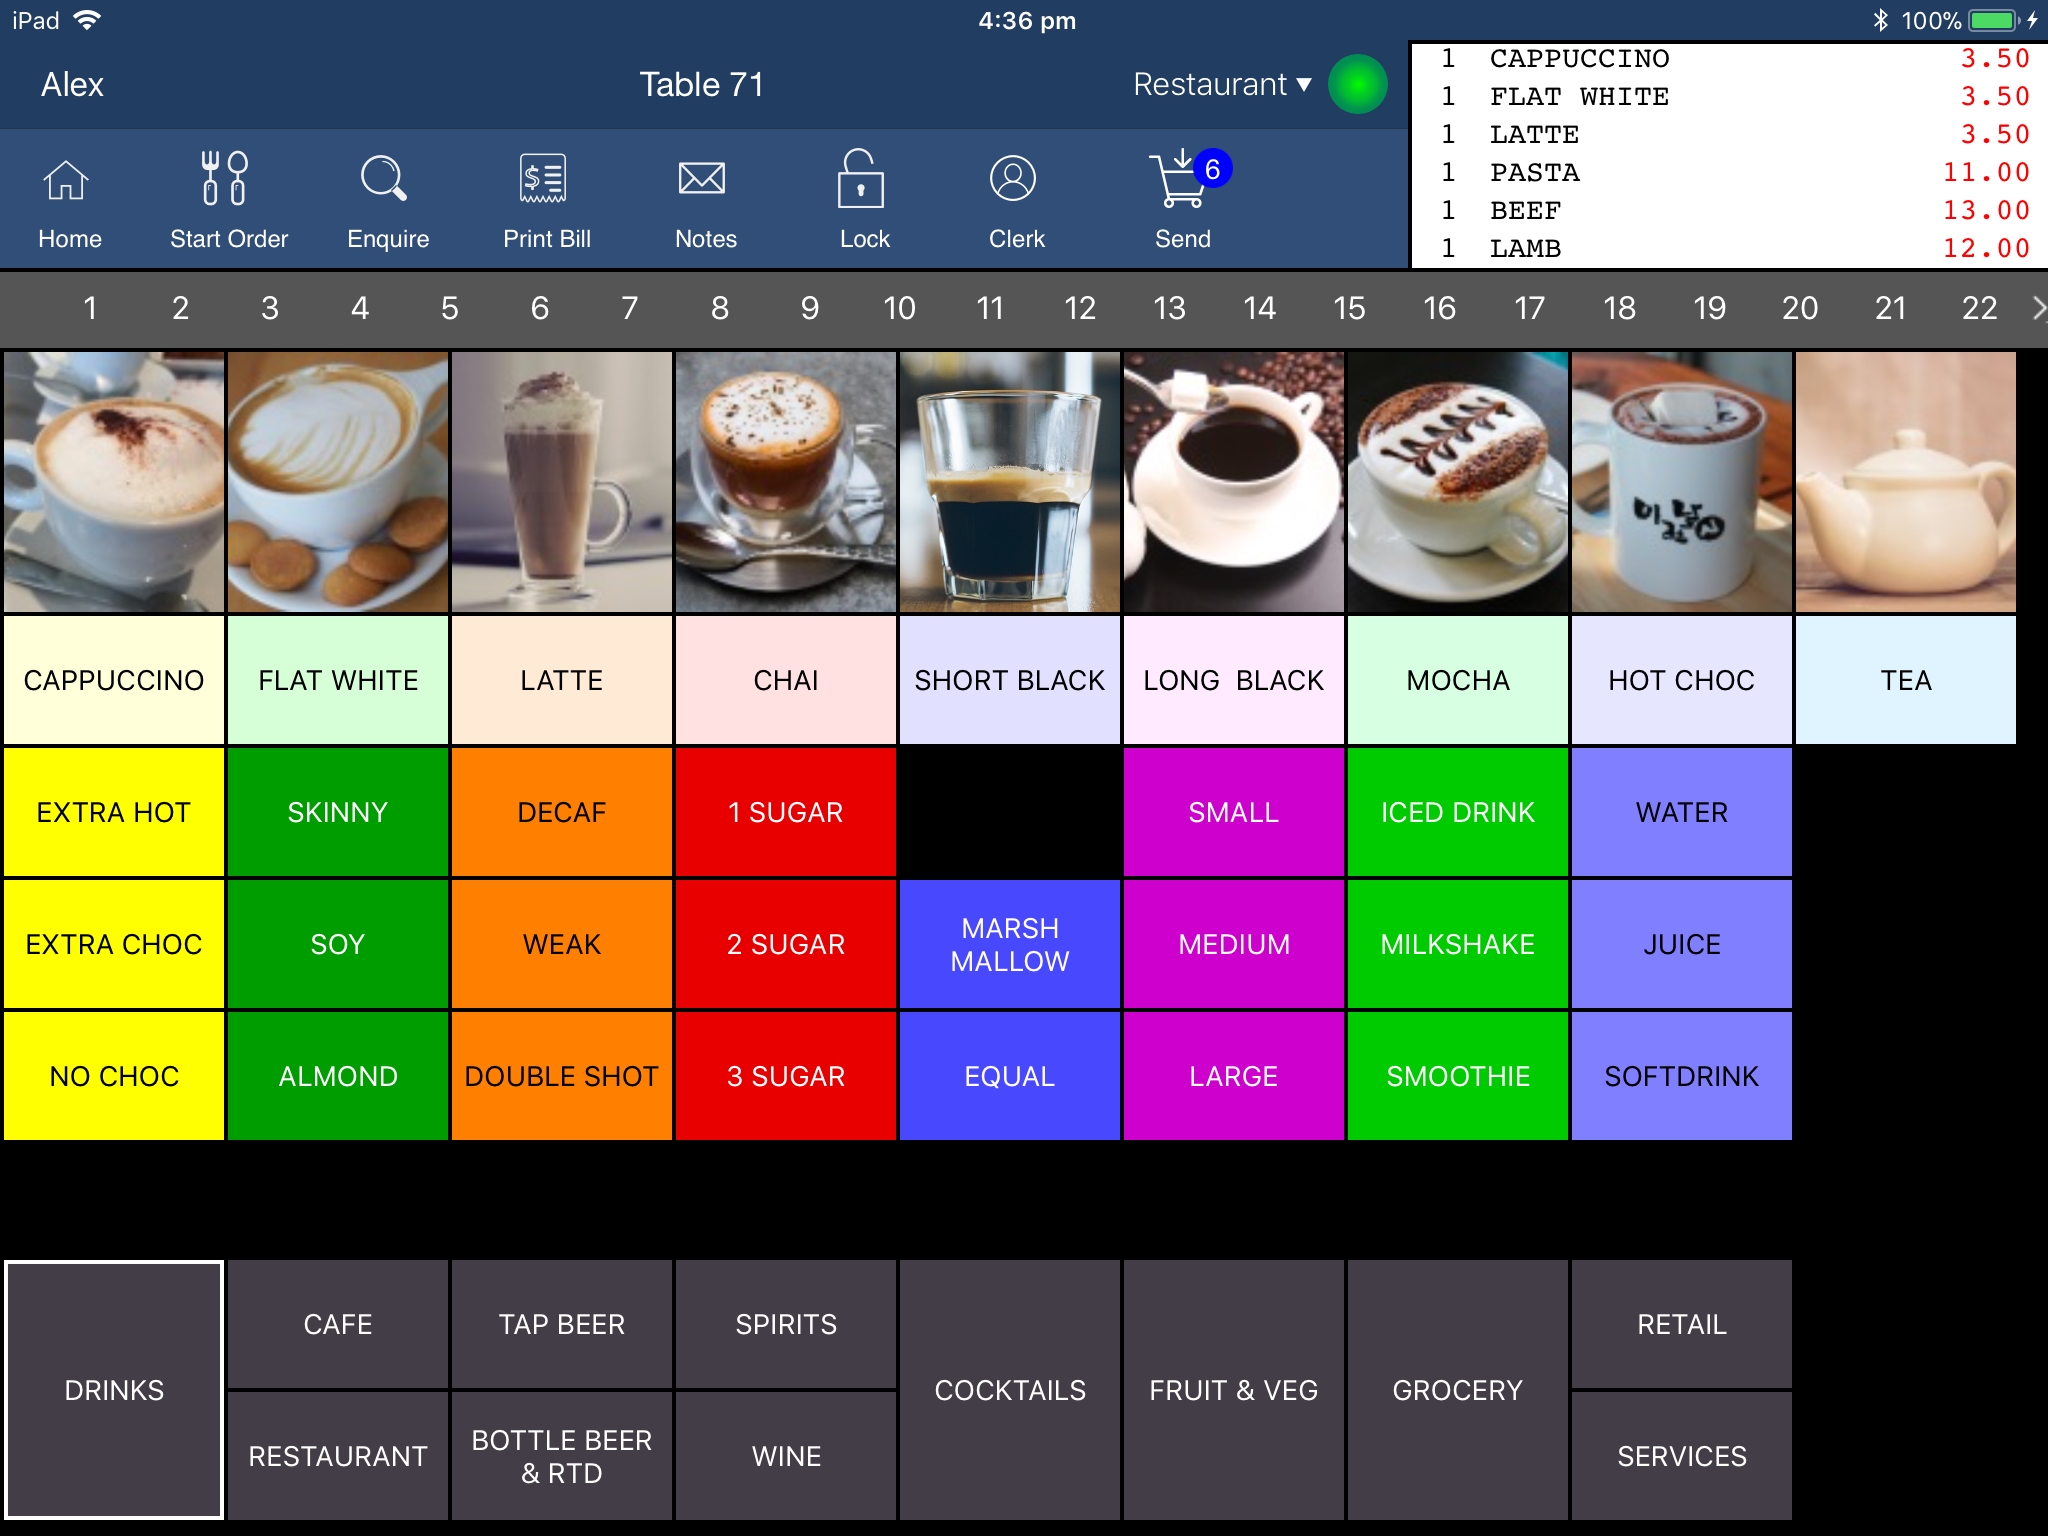
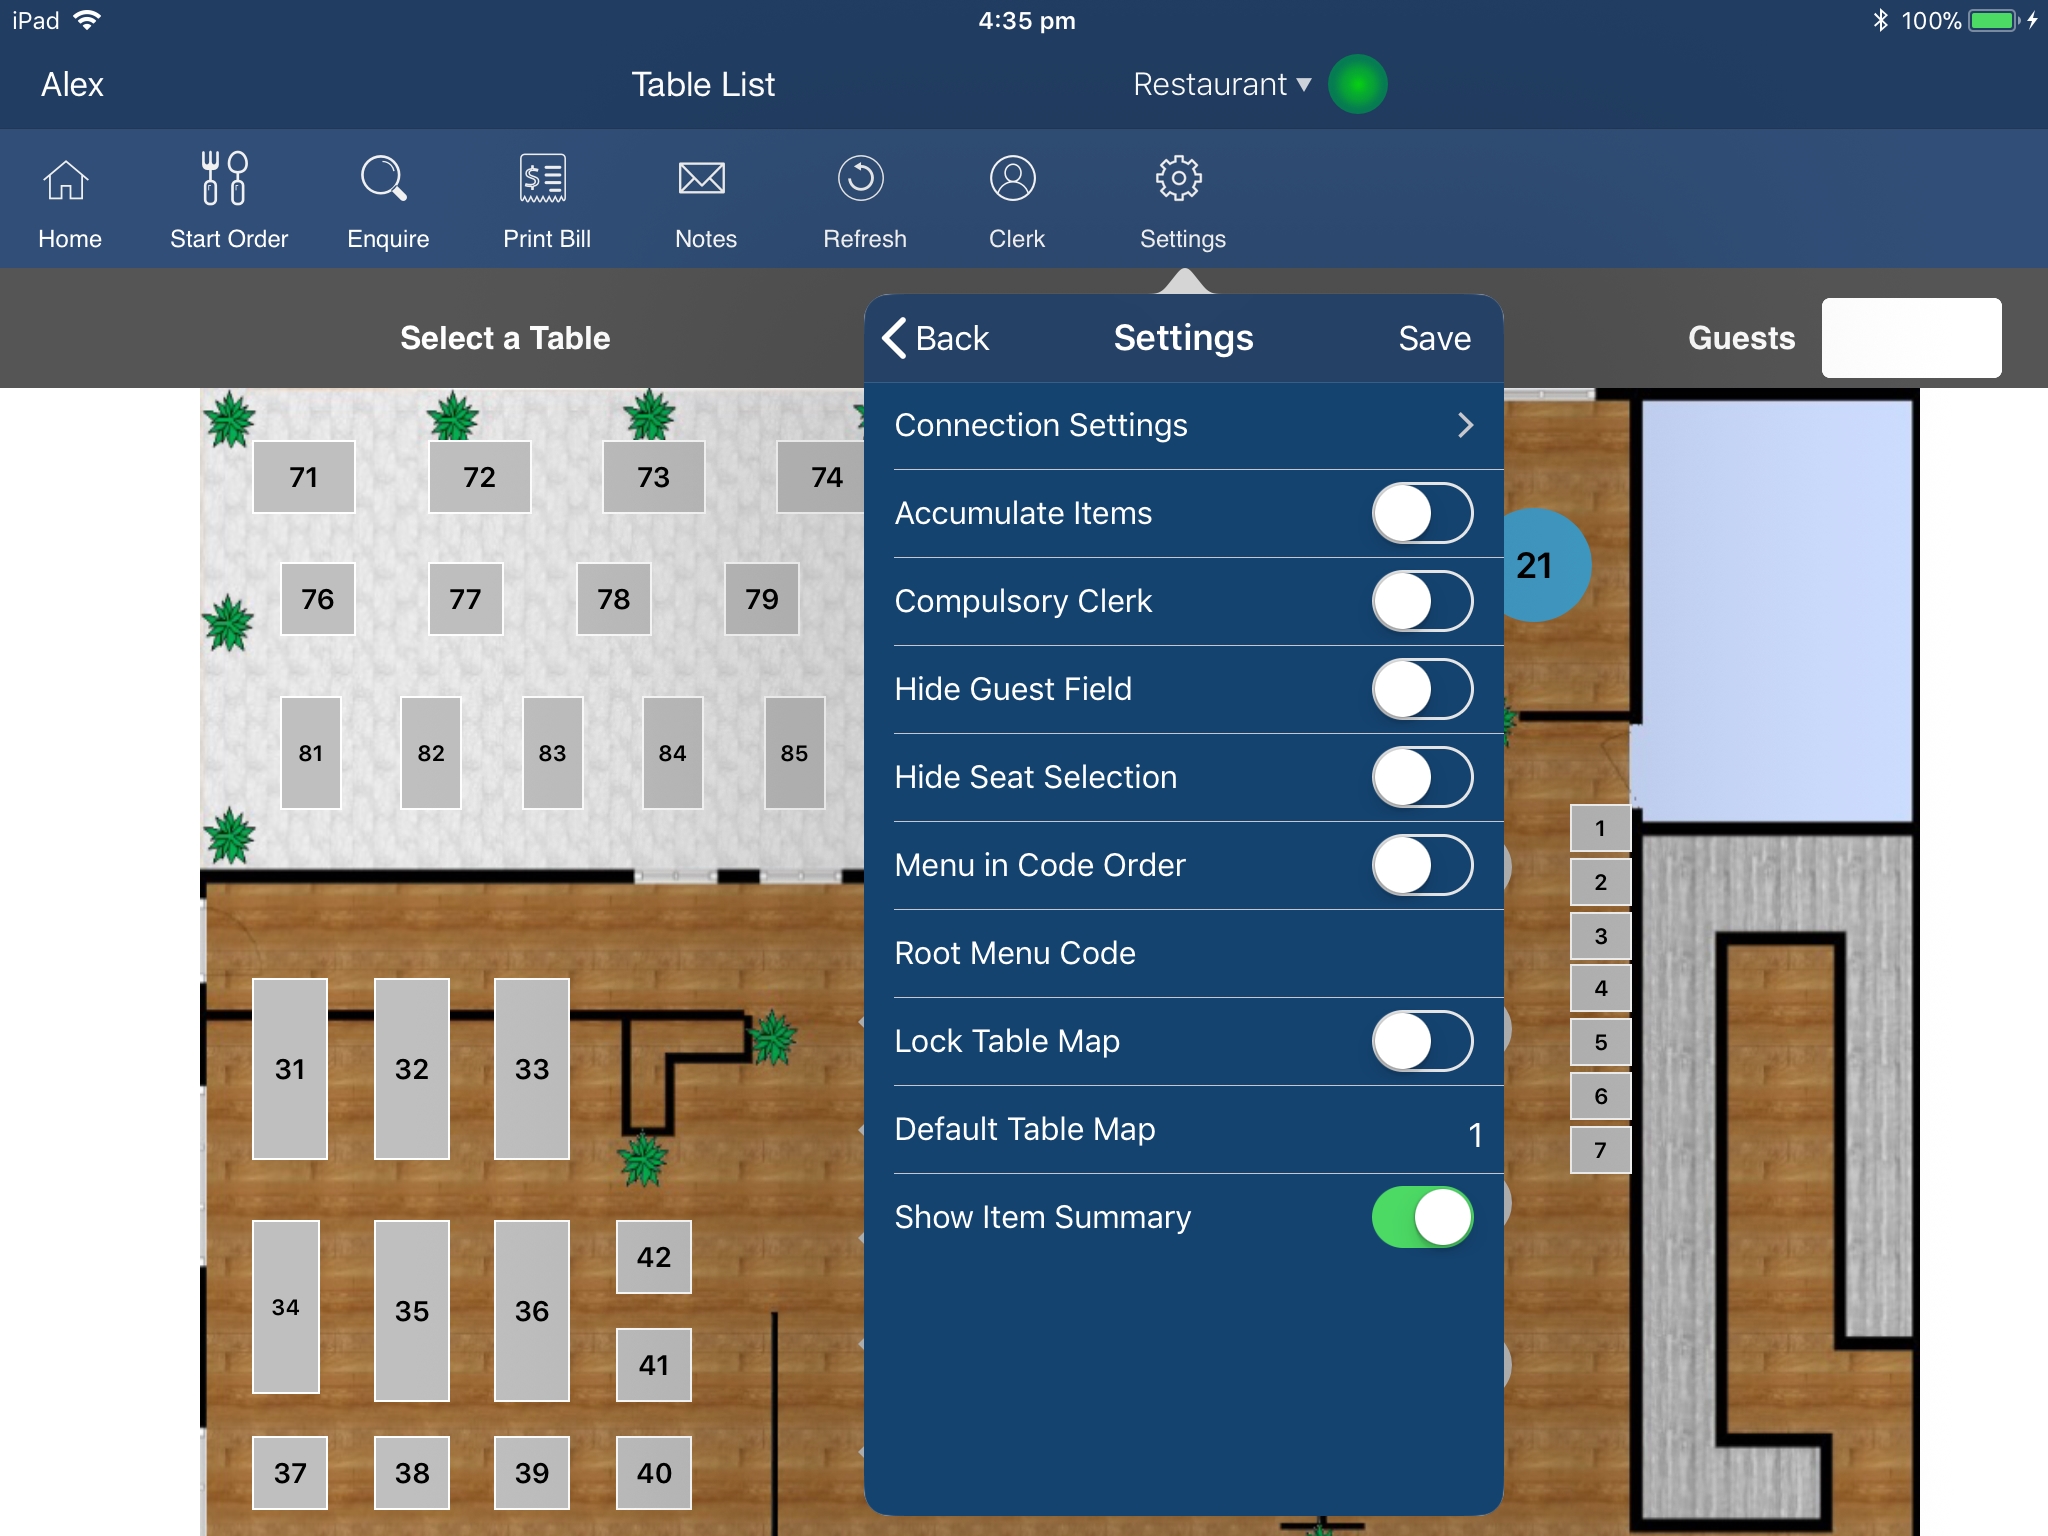
On larger screen devices, you have an extra option in Settings called 'Show Item Summary'.
When this option is enabled, you will see a small summary box on the top right corner of the app which will show the last six Stock Items added to the current table order.
Enable the option by pressing the 'Settings' button from the Table Map screen, press Settings and enter the PIN number, then enable the 'Show Item Summary' option and press 'Save'.
Select a table from the Table Map and press 'Start Order', then add items.
The items that have been added to the order will appear in the Item Summary box.